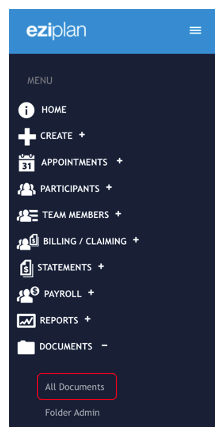
Eziplan allows you to store any documentation you have in the system. This allows you to have one central storage place that can be accessed anywhere with an internet connection. Documents of all types can be added to the Eziplan system. They are categorised on entry, and then displayed in alphabetical order within those categories. All the functions needed to manage documents can be found under Documents > All Documents from the Eziplan Menu.
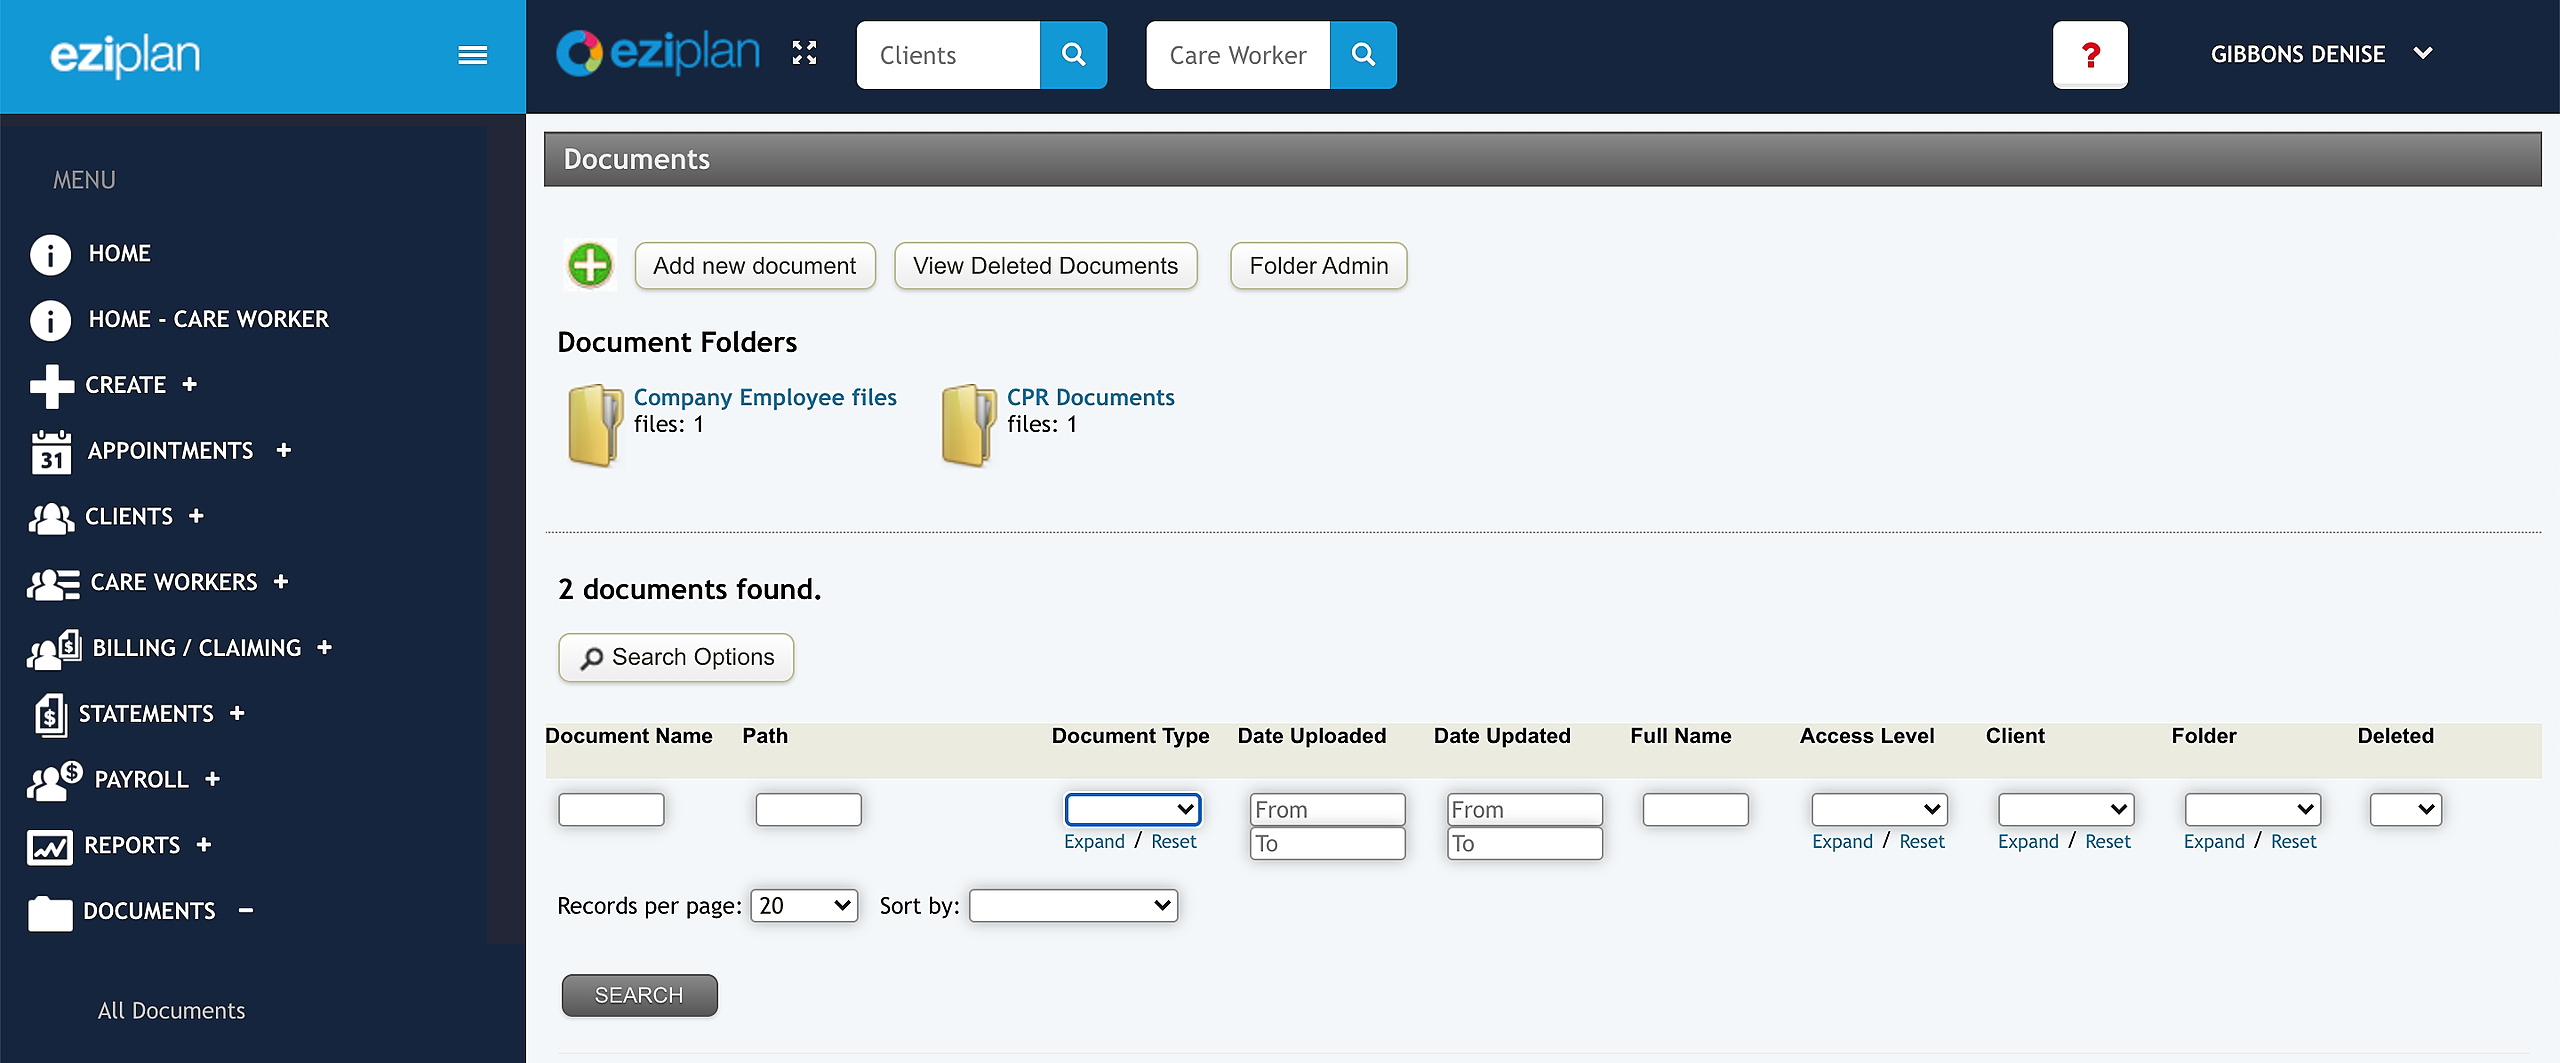
There is a search option with filtering and sorting available in the document listing. Documents are stored on the Eziplan server in the specified folder as indicated. The path is the name of the file that was uploaded (as defined on your local machine). The path is prefixed with a unique identifier on upload, which will also be displayed in the document listing.
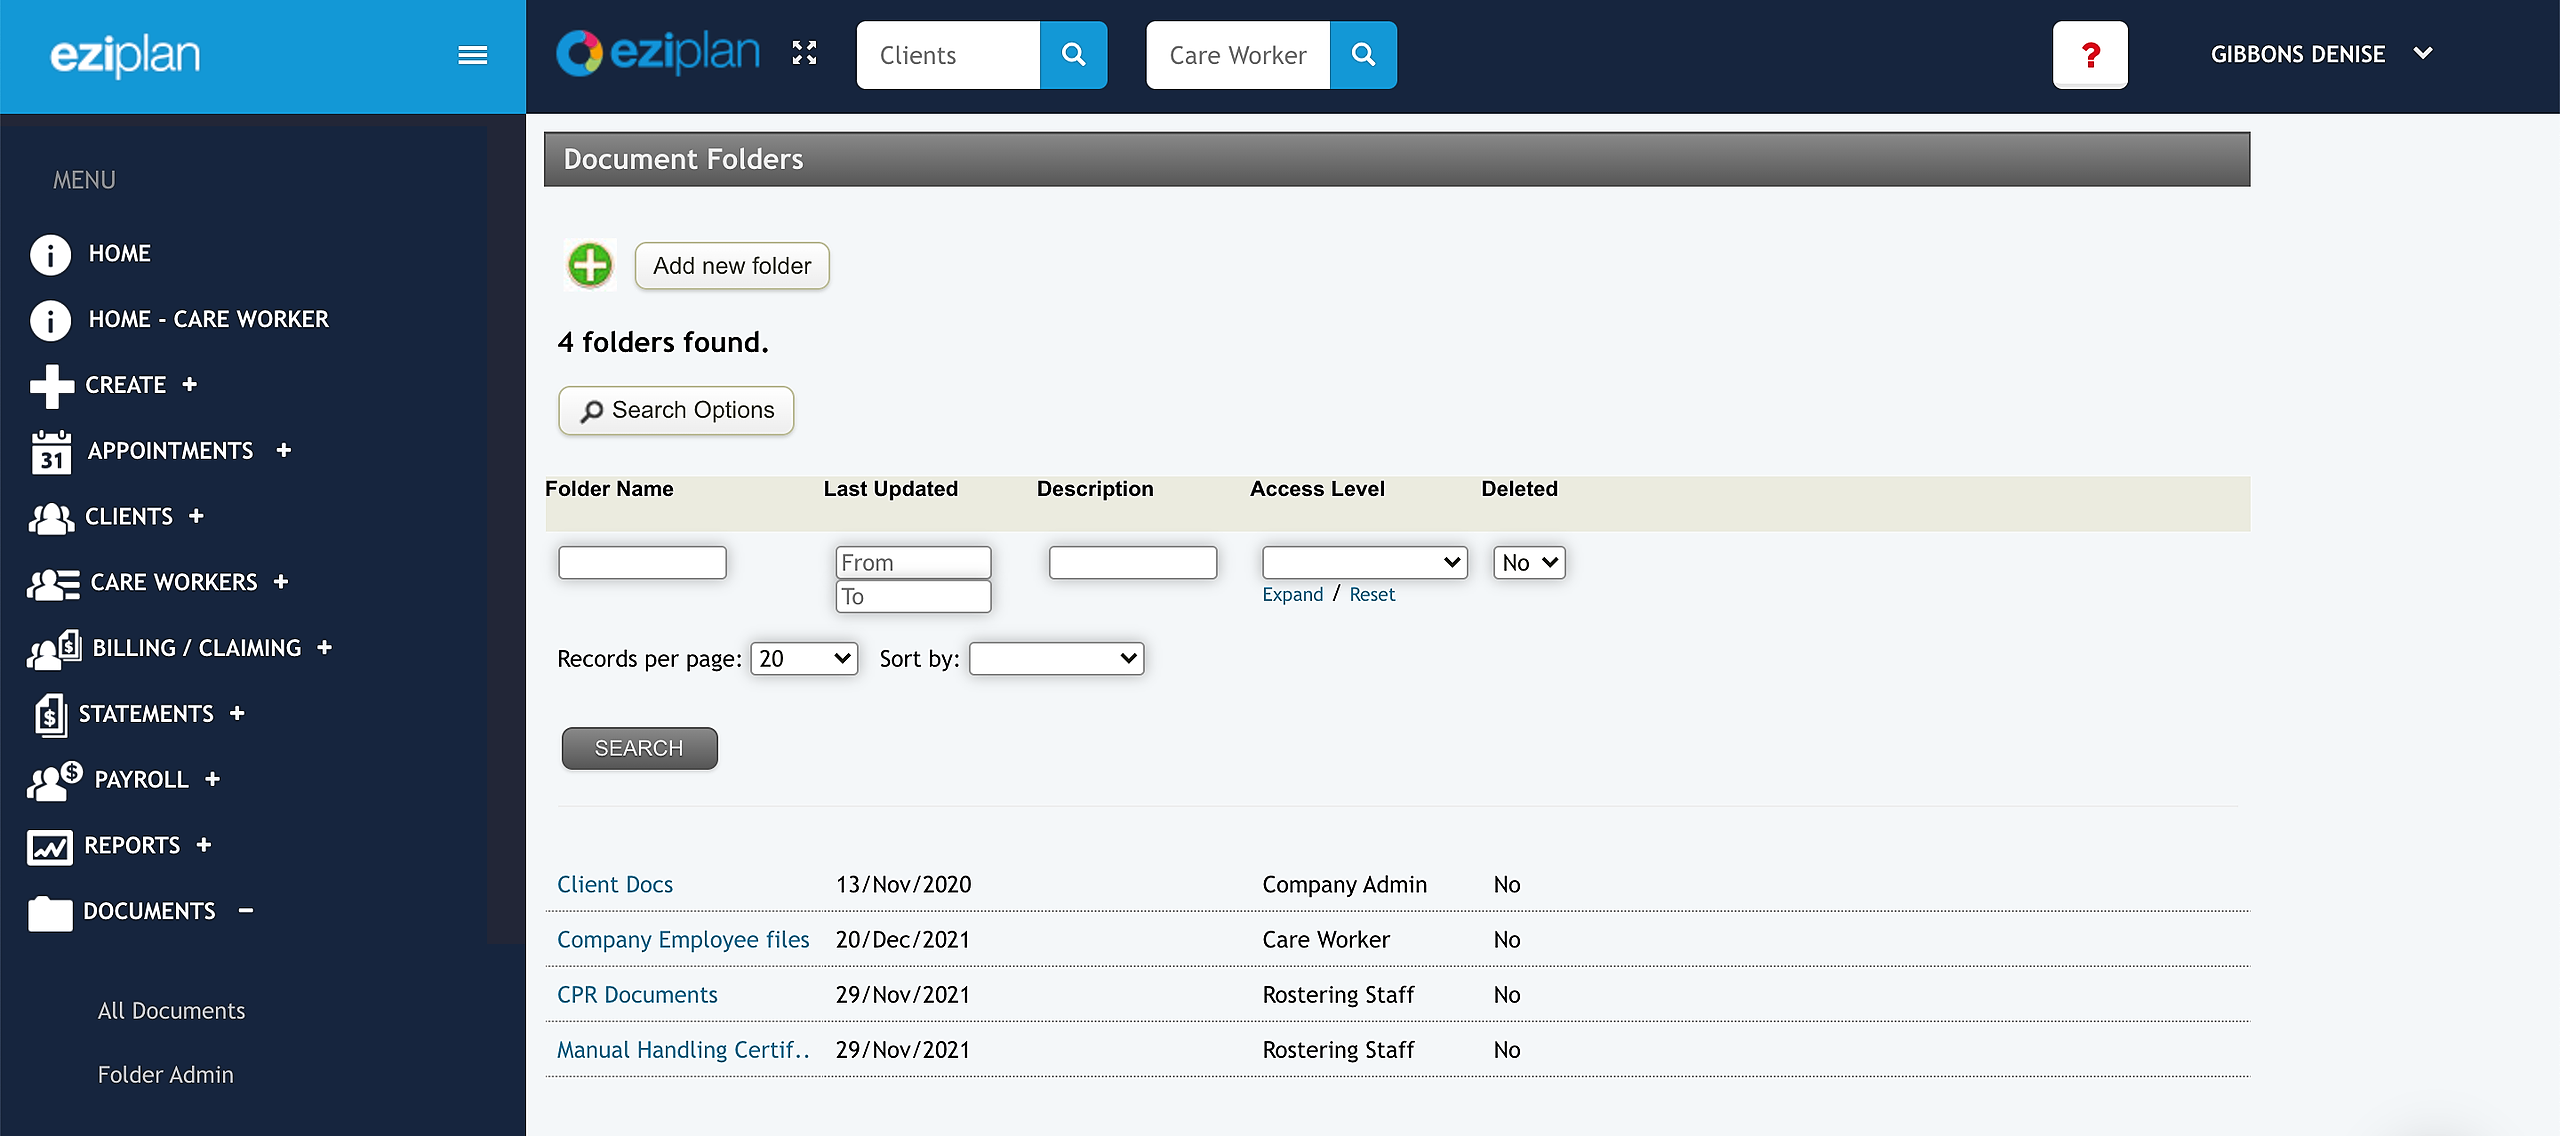
Folder Administration
Managing your documents can be simplified by creating specific folders. This will allow you to easily find and access your existing documents. It will also provide another level of security, where you can define an access level at the folder level to display/hide folders according to the security level needed. All the functions needed to manage folders can be found under Documents > Folder Admin.
Add/Edit a document folder
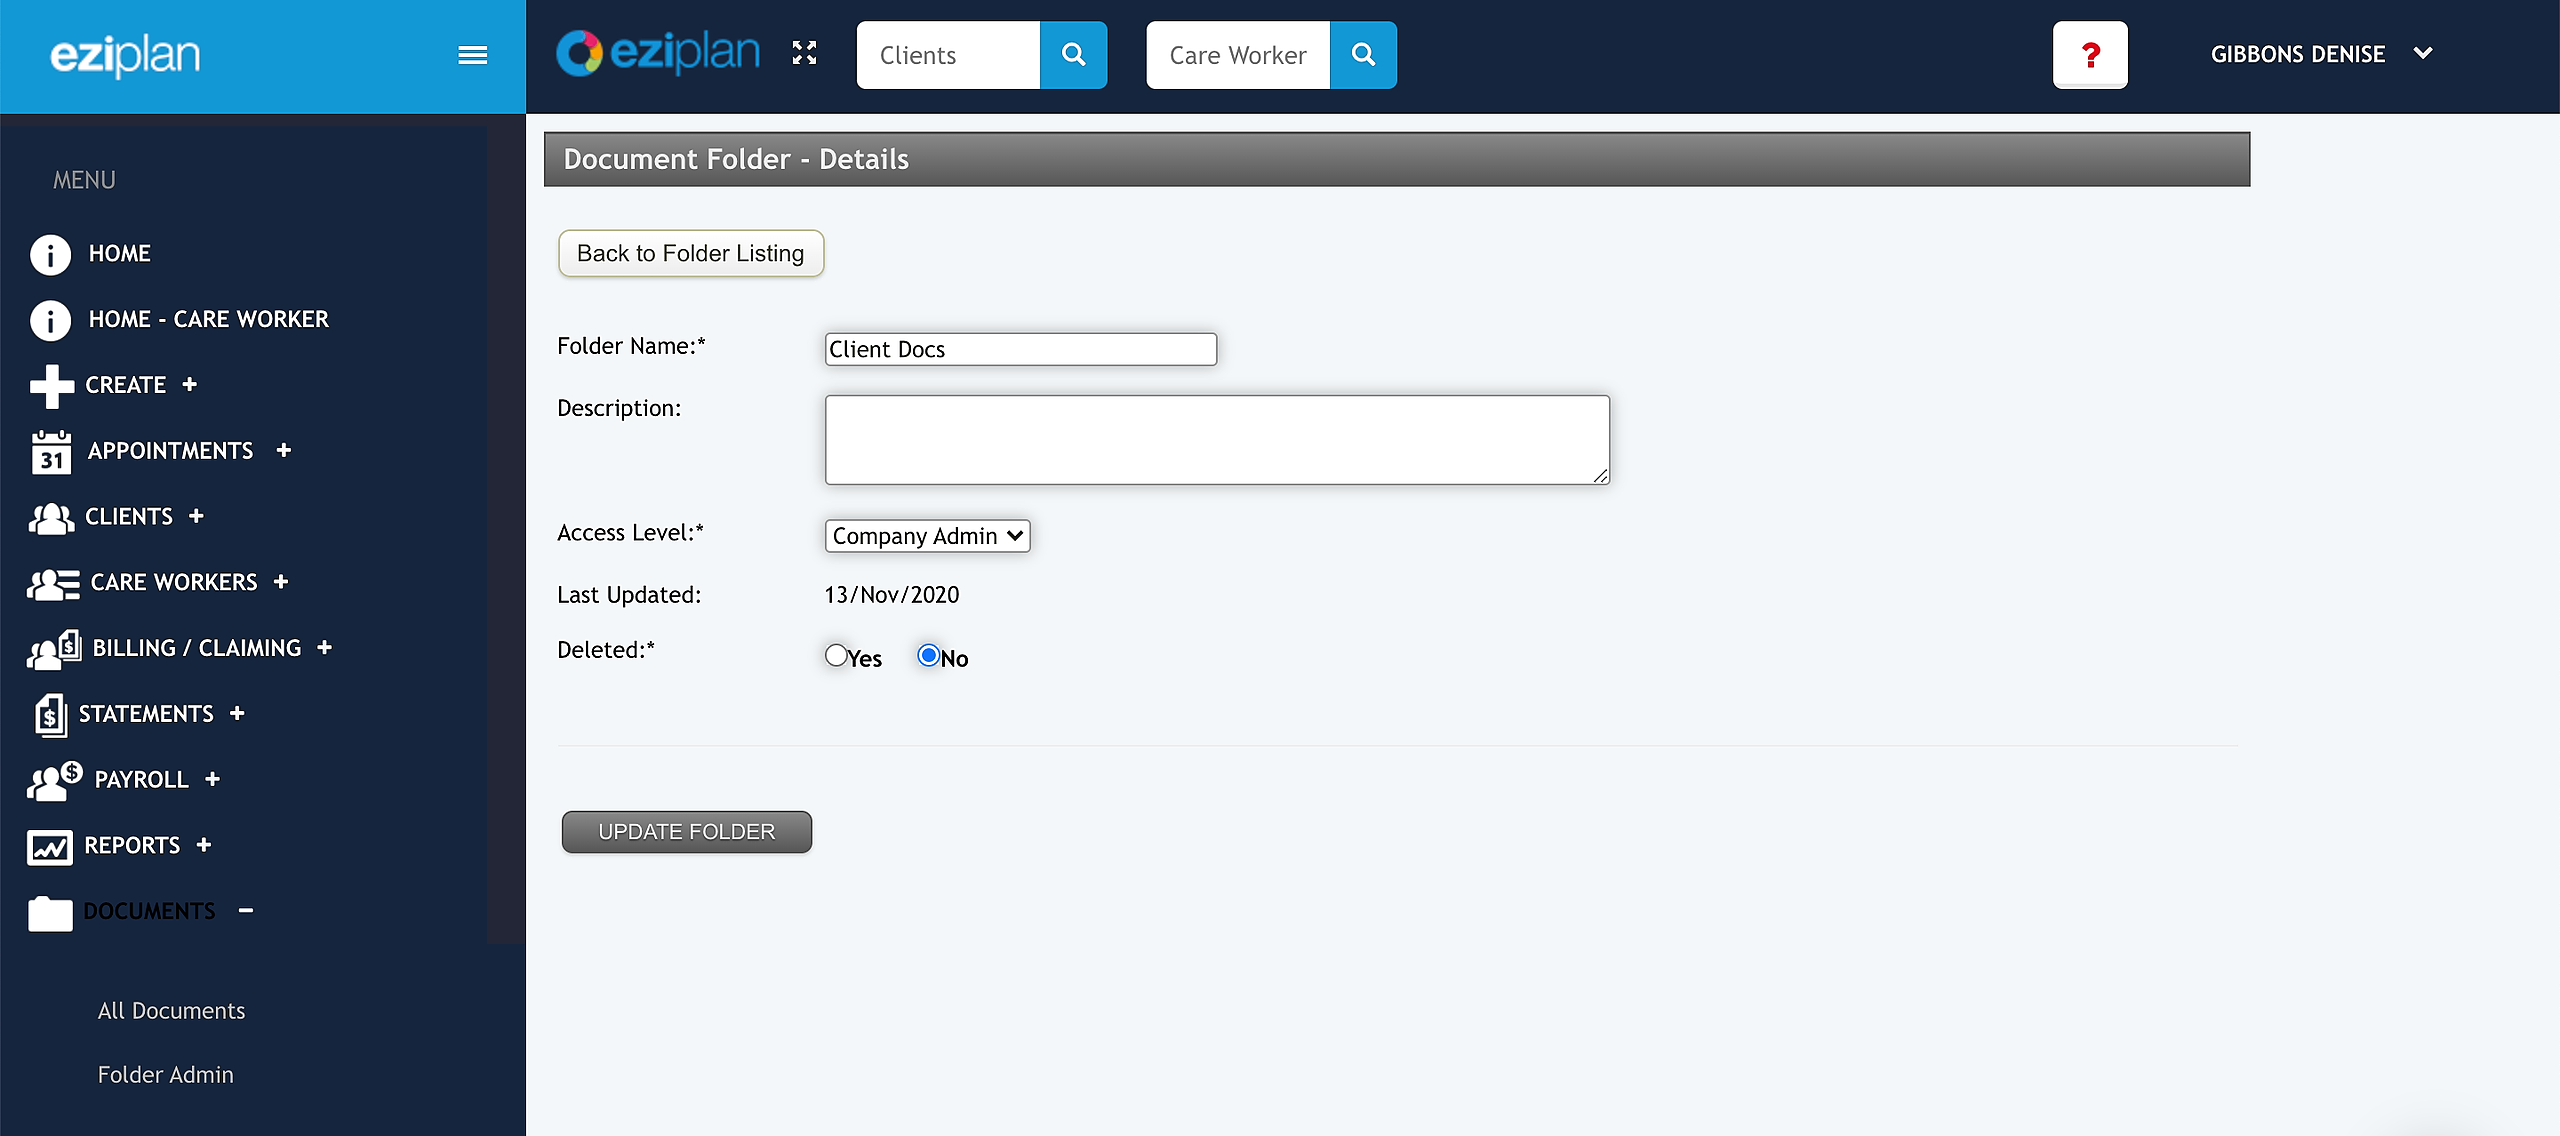
To add a new folder, click the Add new folder button. To edit a folder, click on the Folder name in the listing. Enter the required fields to create the folder:
Folder name - short name and representative of the folder contents
Description - a detailed description of the folder use
Access Level - who can view the contents of the folder
Select Company Admin or Care Worker
Deleted - tick Yes if you wish to hide a folder no longer in use
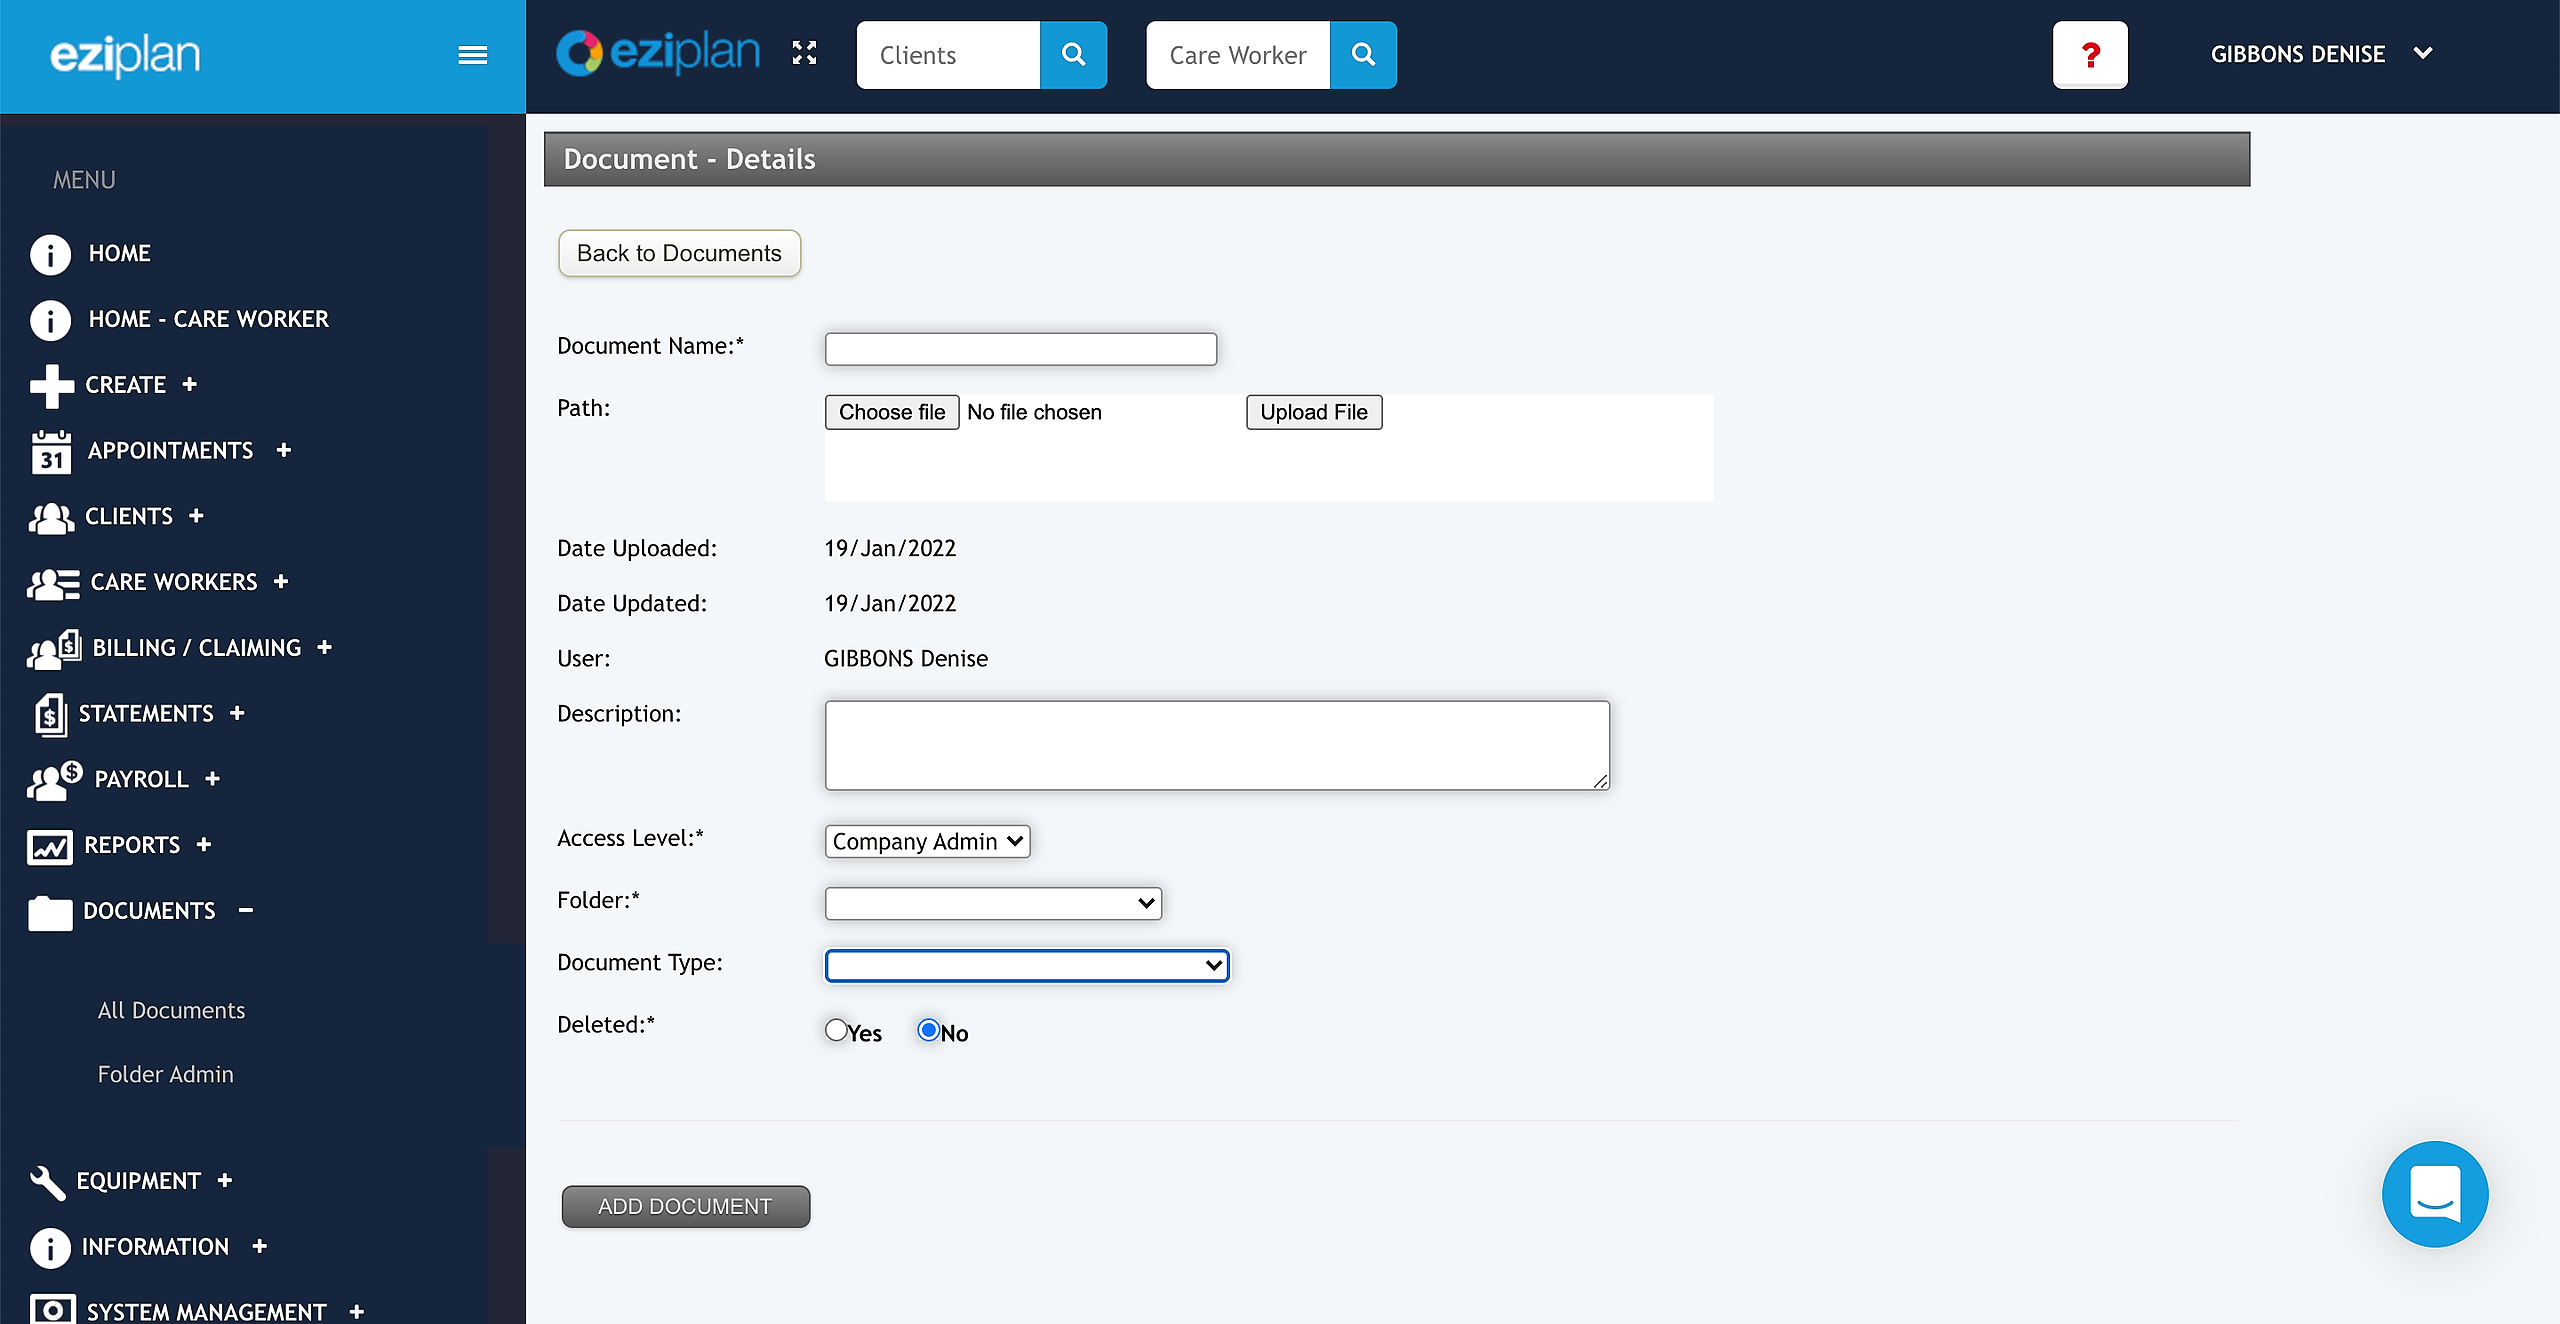
Add a new document
To add a new document click the Add new document button. Enter the required fields to attach information about the document, and then click Add document to upload the file to the server
Document Name - adopt naming standards for your organisation.
Path - Select Choose File to locate the document. It will be automatically uploaded once selected. Select Upload File to reload the document to the server.
Description - provide a full description of the contents if needed.
Access Level - who can view the contents of the folder
Select Company Admin or Care Worker
Folder - categorise the document into a collection for ease of use.
Type - tag the document with a grouping that will enhance searching capabilities.
Deleted - leave marked as No.
Select Add document button to finish the upload process. A confirmation screen is shown, select Back to Documents button to return to the list of documents.
Edit an existing document
To edit the properties of a document or to change the file contents, click on the Document name in the document listing. Selecting an existing document from the listing will show you the Document information.
|
Edit the data about the document, as above.
To open the document, select Download File button. It will download to your PC for subsequent viewing or editing.
It will be necessary to reload the file should it be changed.
And that is how you edit the Document!