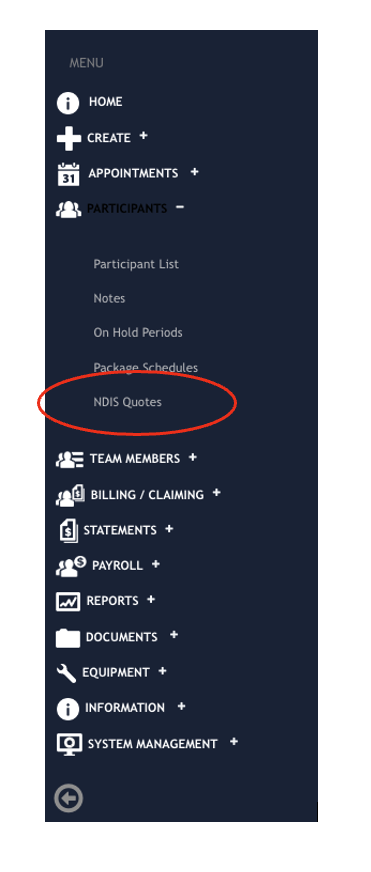
Once logged into the system, from the Eziplan Menu, select NDIS Quotes from the Participants tab:
Click 'Log in to Quotes System'
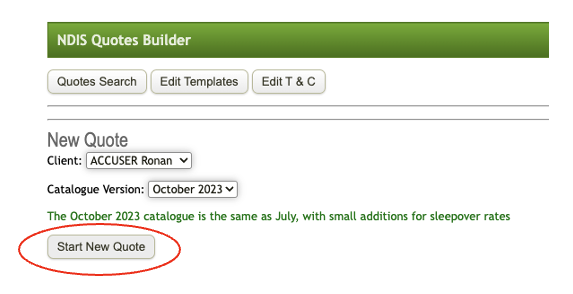
Once logged in, it will take you to the Quotes builder page where you'll be able to start a new quote and see existing quotes as well. A search option is available so you can easily access quotes from previous months.
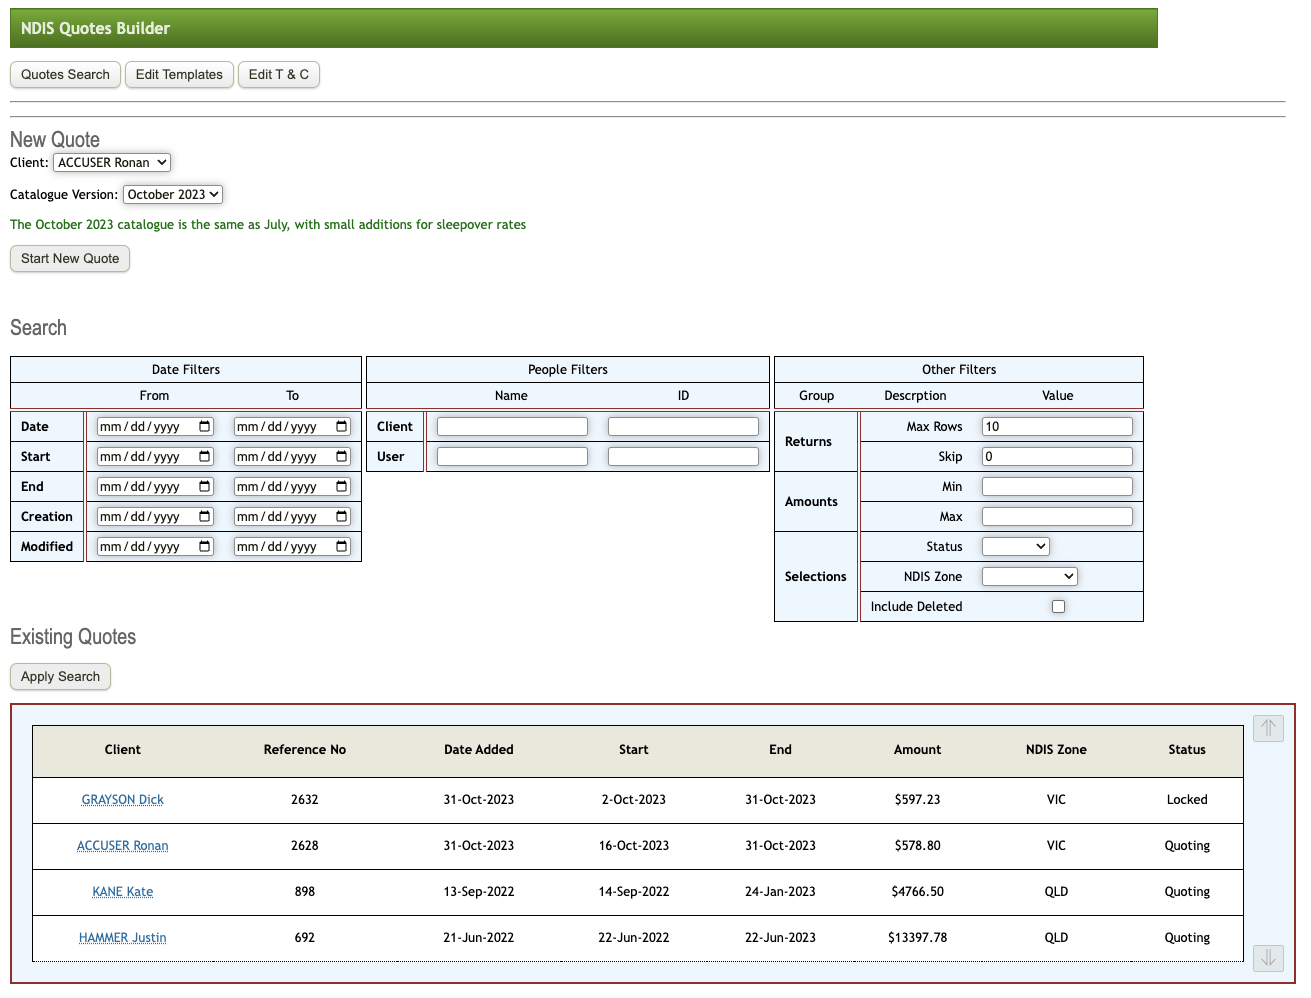
From the Quotes Builder, choose the client from the dropdown and click 'Start New Quote'
Input the Description (could be anything), the Start and End date of the Quote
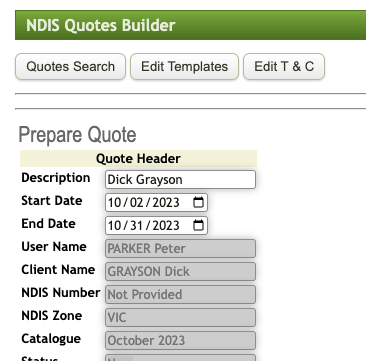
To add items to the quotes, click on the little magnifying button

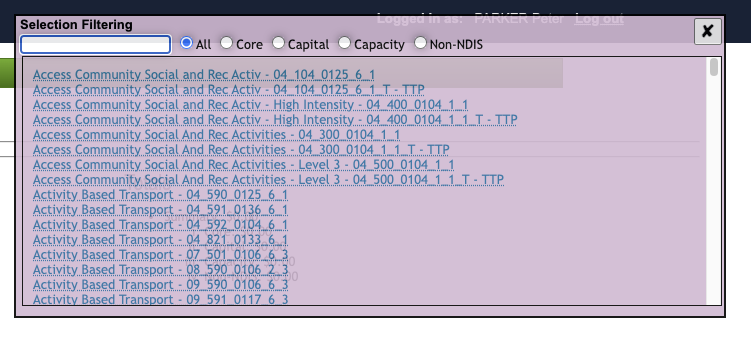
A pink box will appear where you will be able to select from the list of items with codes or specifically enter them from the search bar
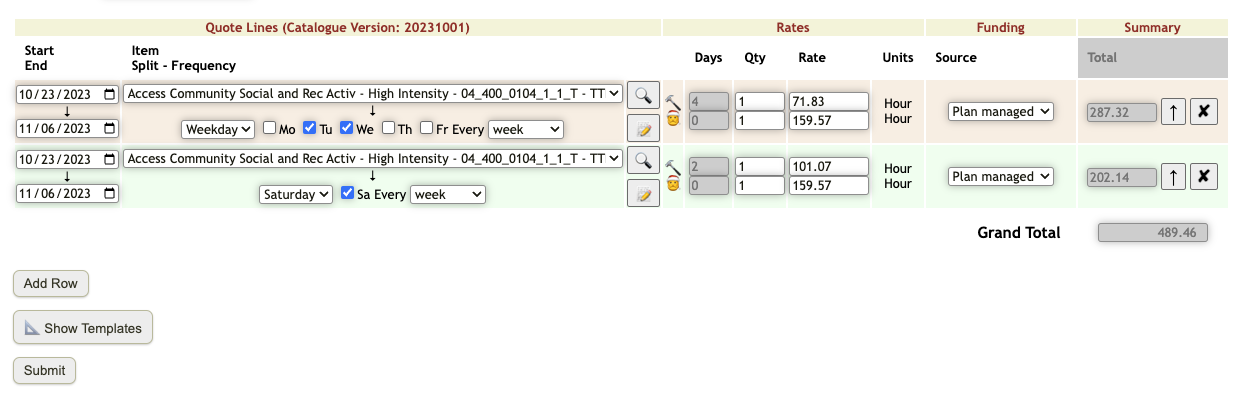
Once you have chosen an item, you will be given the option to select if it occurs on a Weekday, Saturday, Sunday, or in the evening. Additionally, you can check off specific dates and how often it occurs. The system will then calculate the rates based on the number of days. Furthermore, you can also select from a drop-down menu which source the funding should come from. The total amount will be shown on the right-hand side of the tab.

To add another item, just click 'Add Row'. Repeat the same process until you are ready to Submit.
Quotes will then be successfully saved once submitted but you will still be able input additional information under Notes. Just click on the the pencil icon to do so.
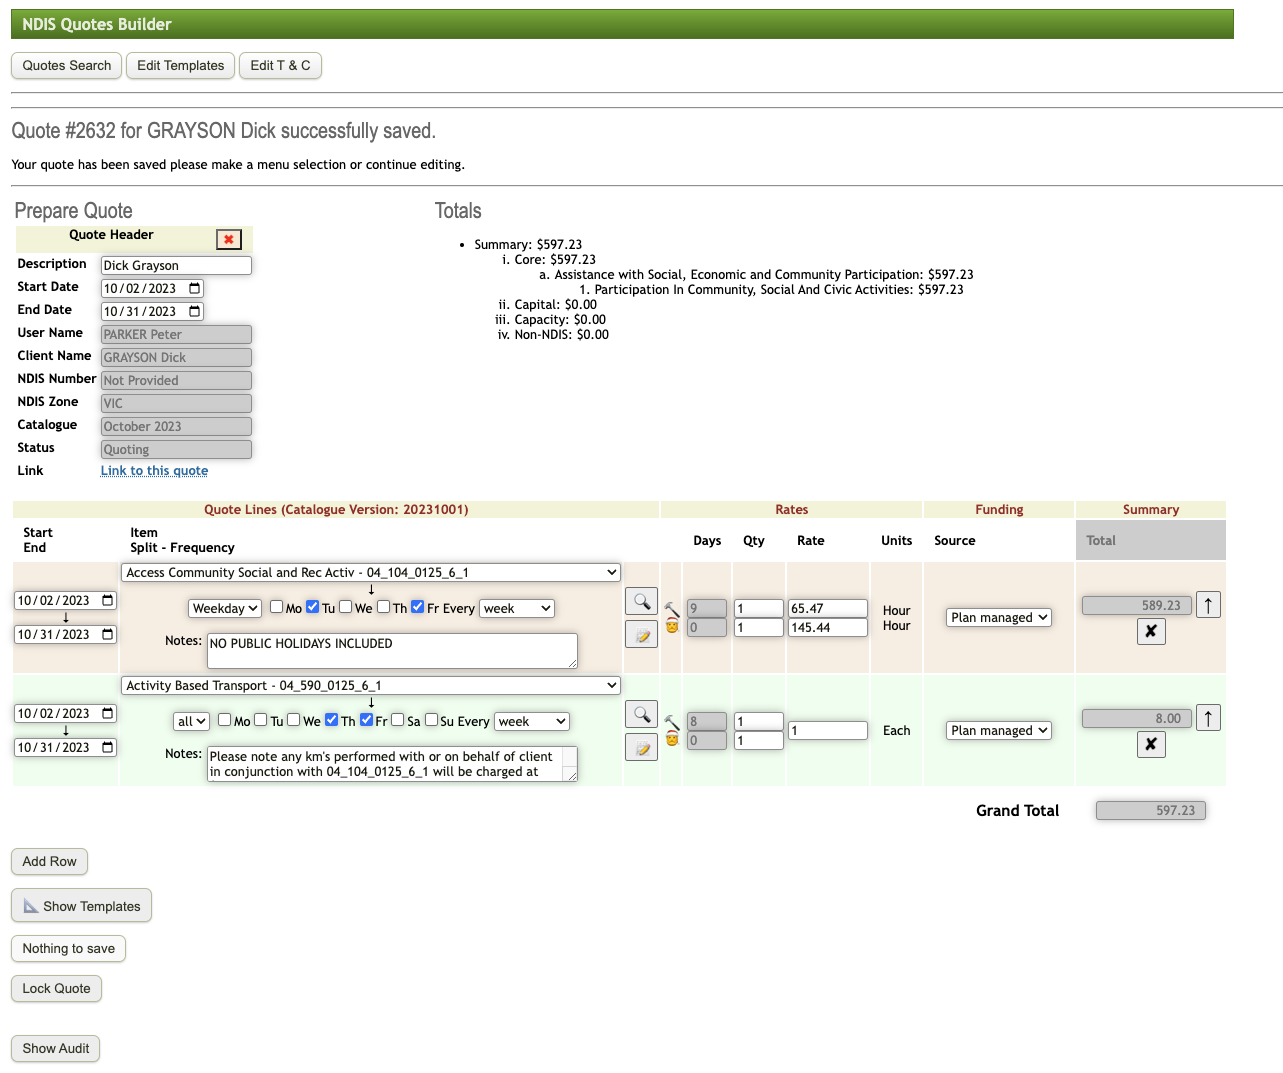
After adding Notes, click outside of the of box and hit 'Save'
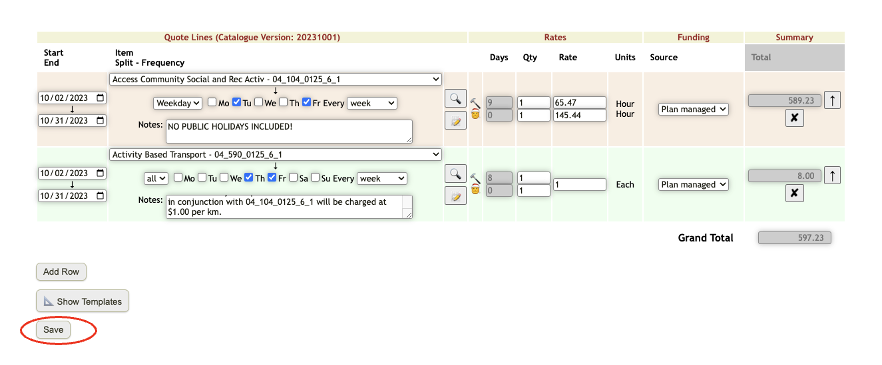
If no additional information is needed, hit 'Lock Quote'
Quote is now ready. To view the changes made to the quotes, just hit 'Show Audit'
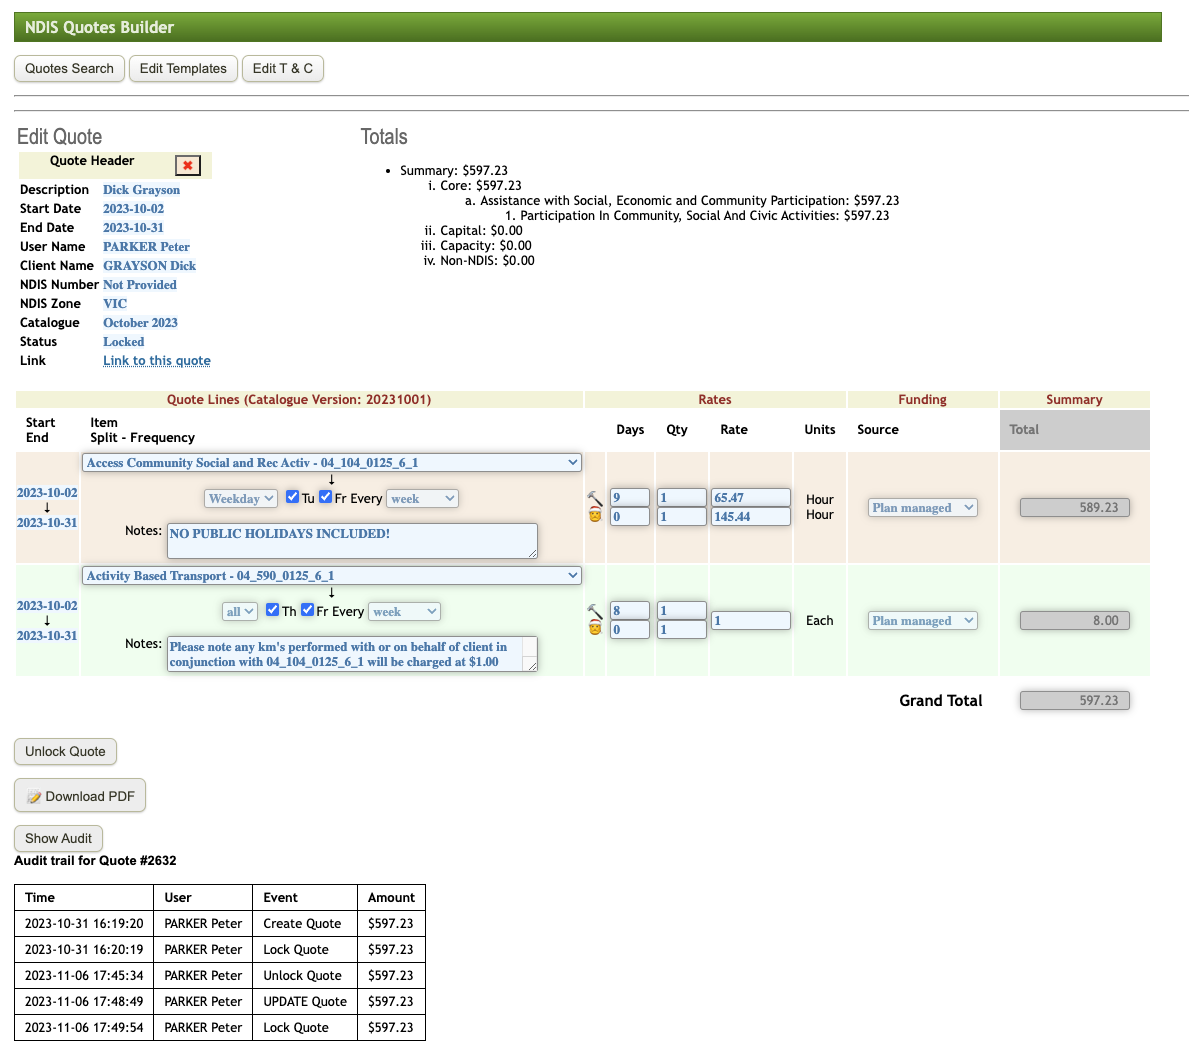
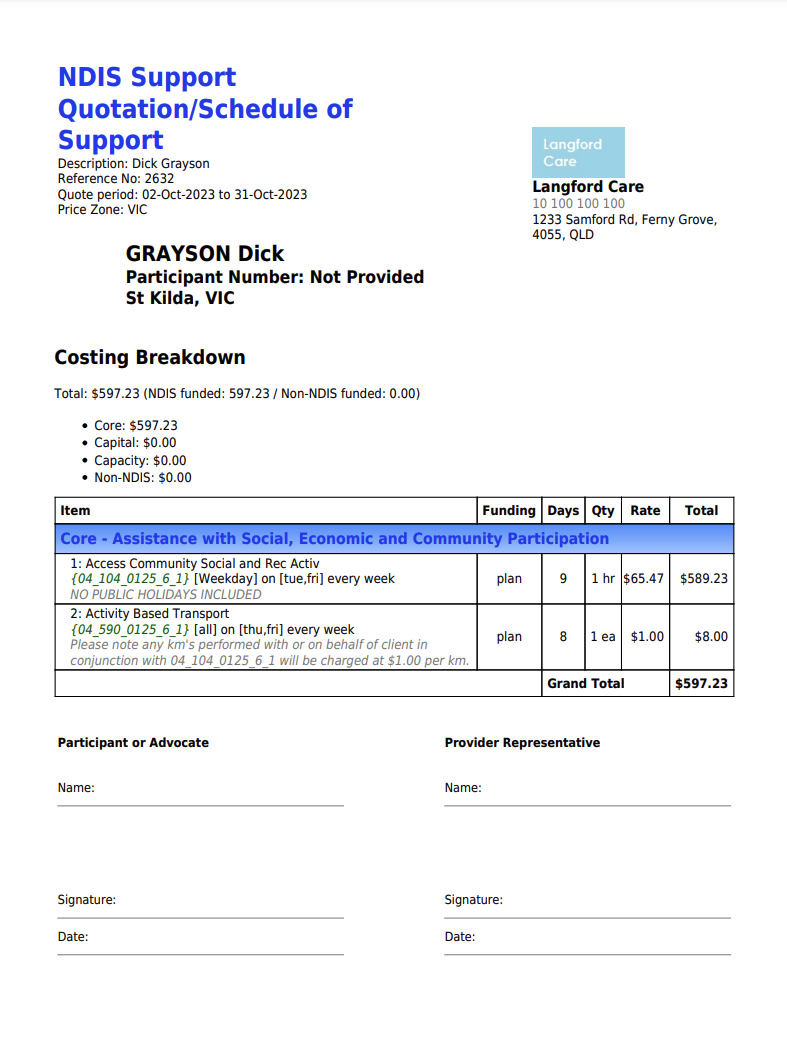
To download the pdf file, hit 'Download PDF'. The pdf file should look something like this: