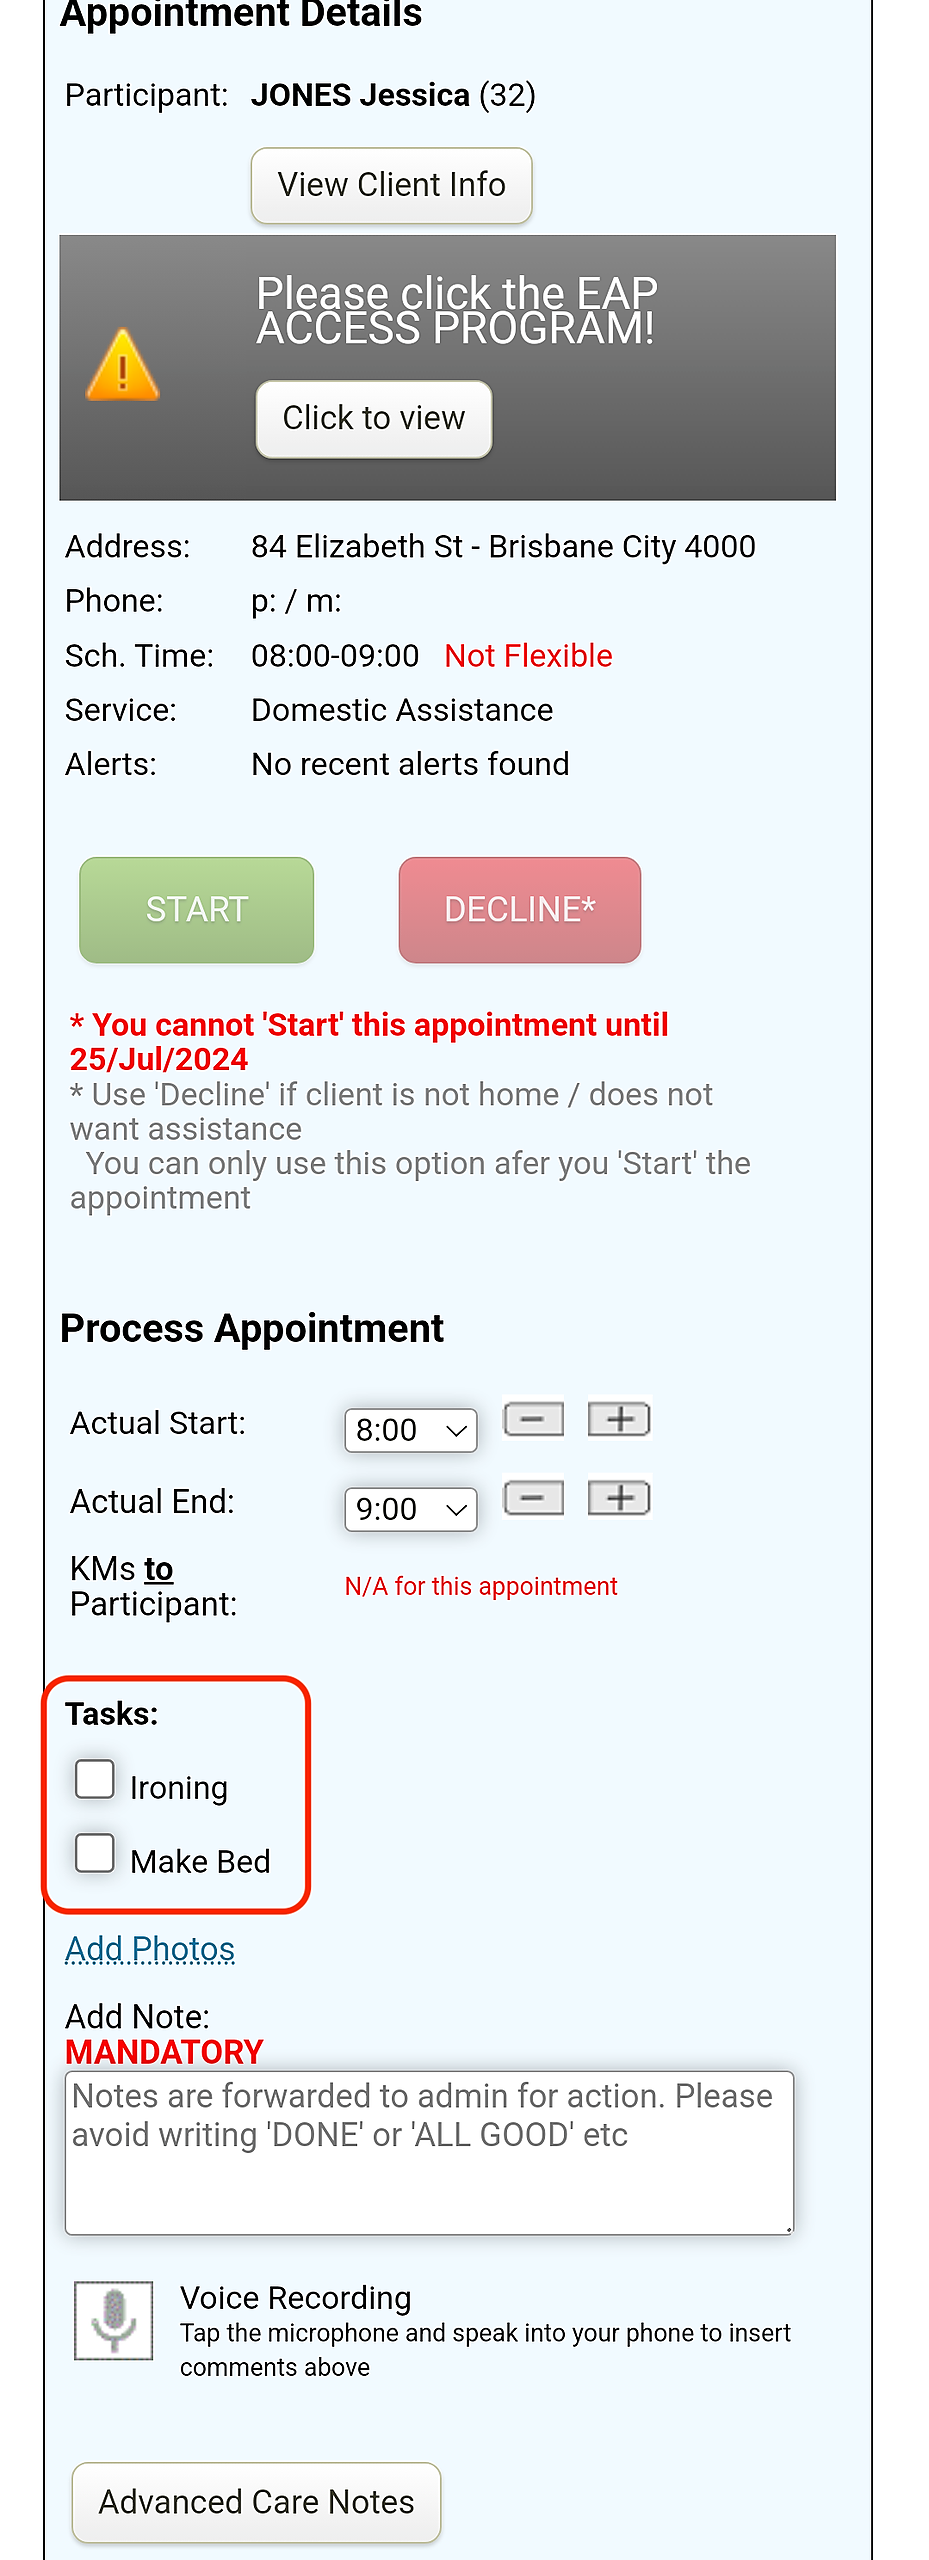
Tasks may be added to appointments in Eziplan to notify your staff of specific jobs that may be required by them during an appointment.
Tasks also allow your staff to check off specific jobs they have done so they know they have covered everything required in that appointment.
Creating a Task List
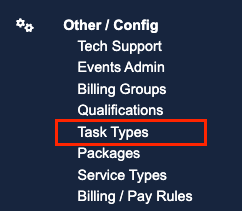
To customise the list of Tasks available to be allocated to an appointment, go to the Other/Config tab in the minimisable side bar on the left and select the Task Types option.
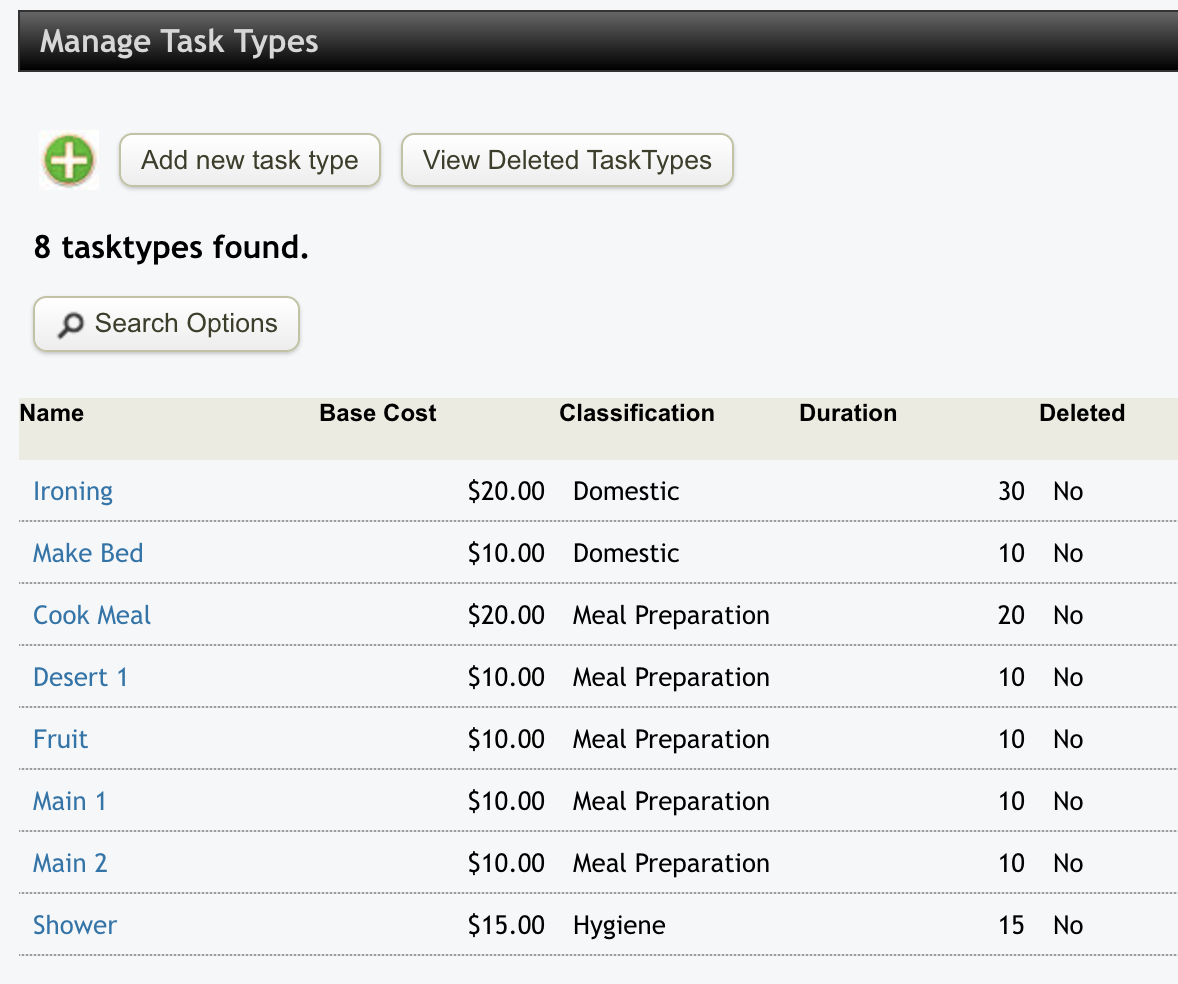
You can add new Tasks by selecting the "Add new task type" button at the top or edit/delete from the current list by clicking on the link that is the name of the Task. You will notice that there are fields set for Cost, Classification (to group sets of tasks for easier access) and Duration against each Task.
When you add or edit a Task the following window will pop up.
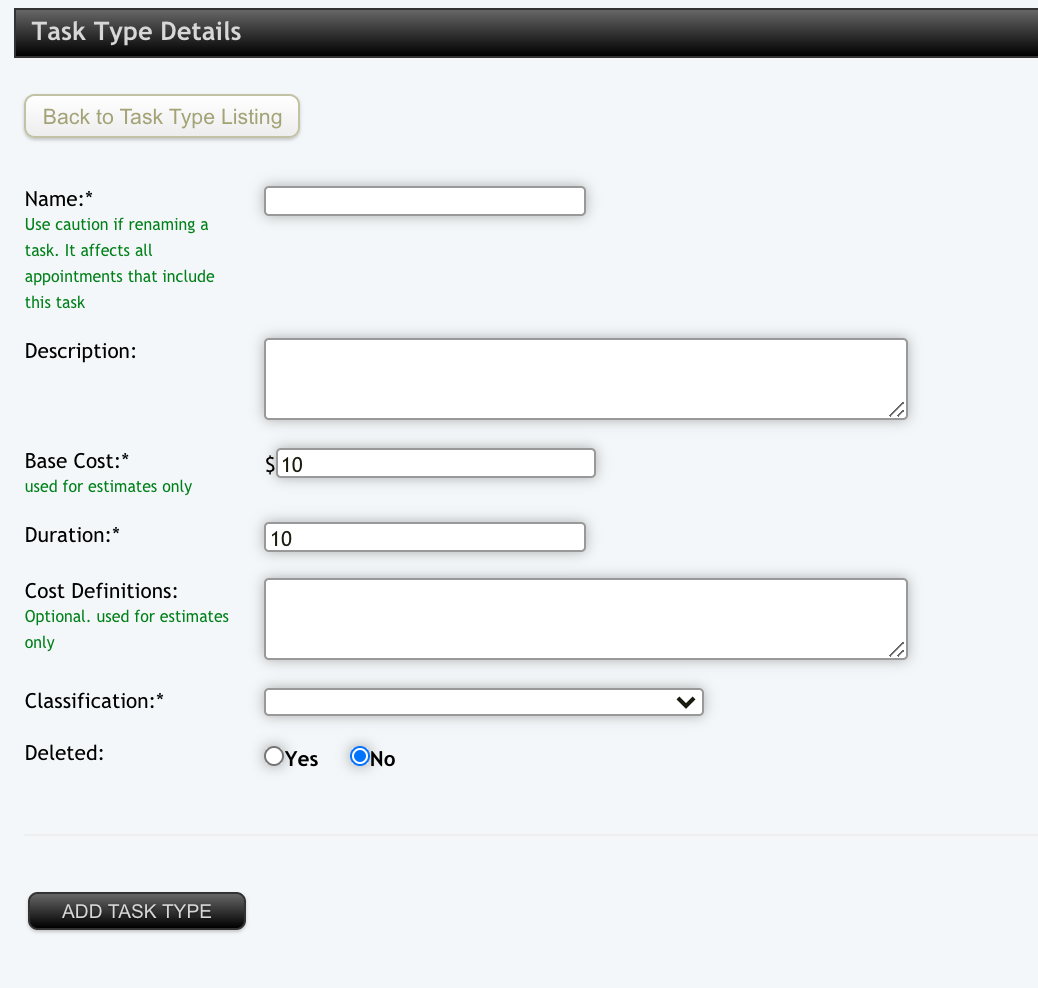
Any field with an asterisk (*) marked against it is required for saving. The Base Cost and Duration fields are used for planning purposes and the Classification will group Tasks in the administration and mobile web apps. Once you have filled in your required details select the "ADD TASK TYPE" button to save your Task and return to the Task list.
You can always come back to this list to customise it further in the future as you require new Tasks.
Allocating a Task in an Appointment
To allocate a task in an appointment, follow the usual steps for Appointments V2 - Creating a Repeat Appointments or Appointments V2 - Add a Once-off Appointment
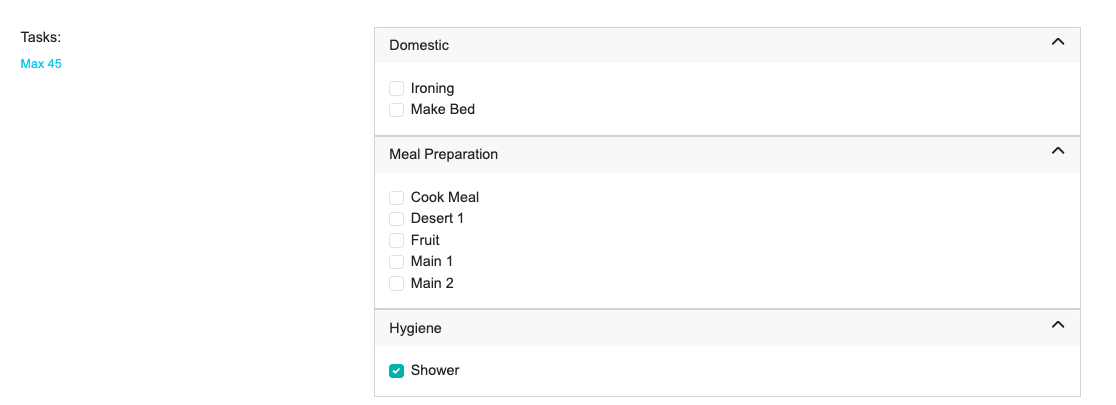
Towards the bottom of the screen you will see the Tasks section with the Classification Headings. To open up the classification group, click on the line icon in the top right corner which will expand the group and then you can tick off the tasks you are wanting to allocate for that appointment before saving.
When your staff go in to process their appointments, the allocated tasks will be sitting there in the appointment section for them to mark off what they attended to before they complete the appointment.