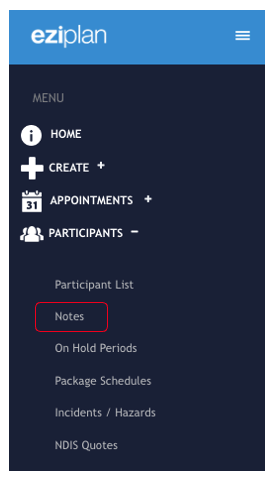
From your Eziplan Menu: Participants > Notes
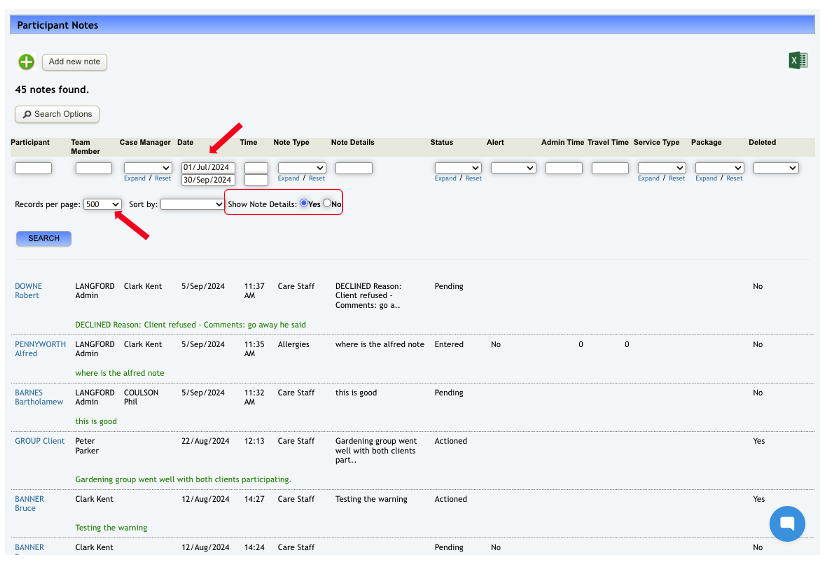
From this point, enter the required details for printing, such as Participant, Team Member, dates, etc.
Be sure to adjust the number of records per page and check the Show Note Details box to view all note details. Once you’re satisfied with your selections, click Search.
The system will then display the relevant information based on your criteria.
Then we can start the process from here.
For Windows PC users, press Ctrl + P on your keyboard as a shortcut, then for mac, press Command + P
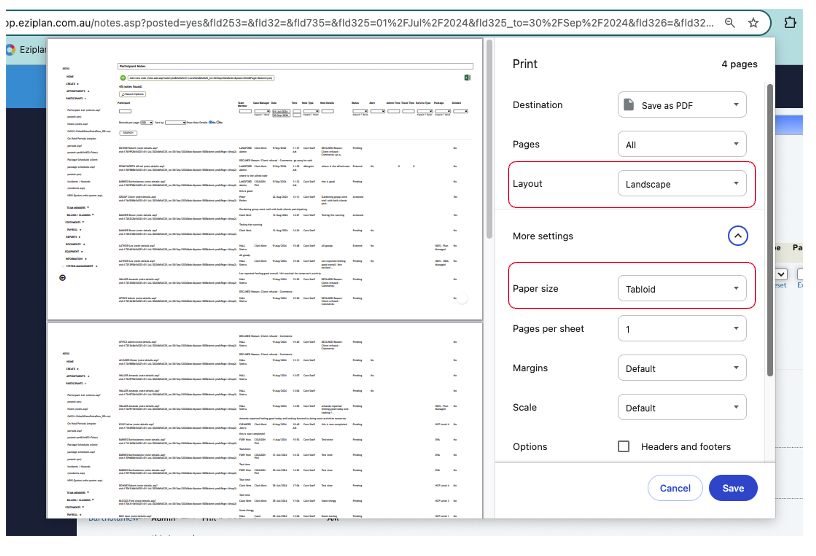
This window will appear, offering you the option to either save the file as a PDF or print directly to your printer. Here are a few important things to check before printing:
Ensure the layout is set to Landscape mode.
Set the paper size to Tabloid.
Choose the pages to print—either all pages or specific ones, according to your preference.
Once you’ve adjusted these settings, you can click Print to start printing or select Save if you wish to save the file as a PDF. The printed document will reflect how it appears in the PDF.