NB Some of the options shown here may not be available in your company's configuration.
Please confirm your company's policies regarding use of these features.
Once you have started an appointment (see Starting an Appointment), you can manage a number of things that may be required to complete your timesheet or carry out the care and documentation component of the service you are providing.
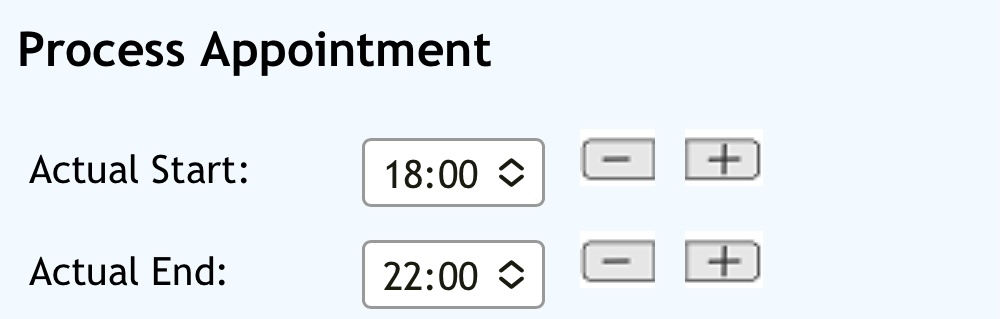
Change Start and End Time
Enter in a different start and end time of the appointment. This may require additional communication with your administration and should always be accompanied by a note in the notes section (see below) to give information about why the times have changed. Your administration will receive a notification of the variance to approve or reject.
If you are just starting and ending slightly differently and the actual time of the appointment is not changing (therefore no change to paying you or charging the client) then you do not need to change anything here.
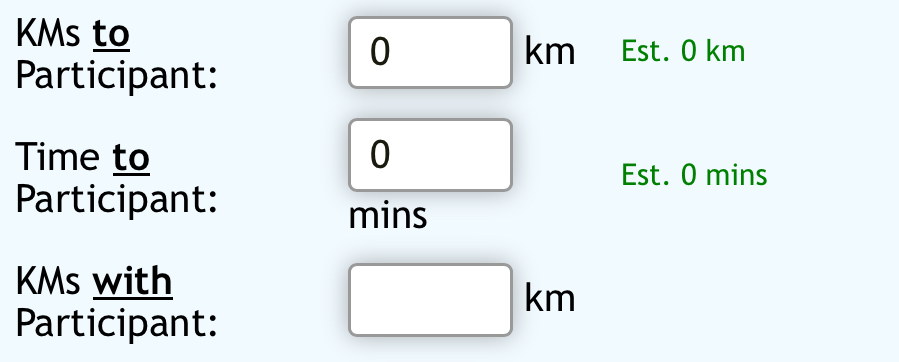
Filling out the travel components of your Timesheet
Entering in time and kilometres travelled to get to the client and kilometres travelled with the client. This may require additional communication with your administration and should always be accompanied by a note in the notes section (see below) to give information about why you have put travel into the appointment. Your administration will receive a notification of the variance to approve or reject.
Your Travel to is calculated by Google Maps on the shortest route.
Completing Tasks
If tasks are assigned when scheduling an appointment, they will show up below an marked as required to complete during the appointment. Tick the box next to each task to indicate that it has been completed.

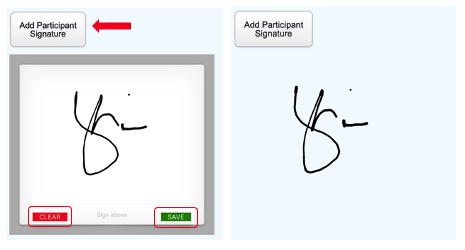
Adding a Client Signature
Your company may require a Client's Signature to confirm the service you have completed or to confirm variances that have been placed in the timesheet (see your individual company's Policies and Procedures regarding this).
To add the client's signature, tap on Add Client Signature. This will open a text box that a finger can use to sign. Either Save the signature or tap Clear to re-sign. Tap on Add Client Signature again to shrink it down.
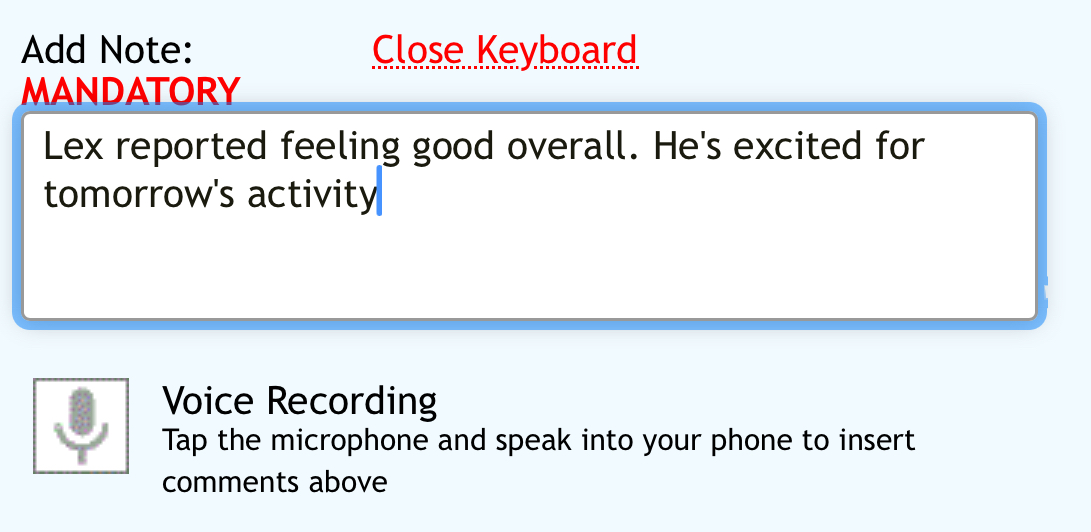
Adding Notes
Your company may require you to fill out progress notes or give information on variances you have put in with the timesheet (as per above). If this is the case you can add them in the 'Add Notes' text field. You can set the priority level of the note.
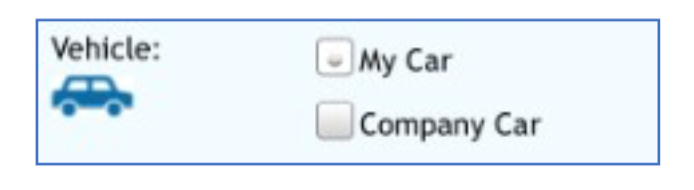
Company/Own Car
You may have the use of a company car for some appointments. The ability to state whether you used your vehicle to complete this appointment or a company vehicle is here, in the form of tick boxes. My Car is selected by default.
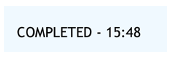
Complete the Appointment
After all the relevant information has been filled in above, tap on Complete to send it through to Eziplan.

A completed message and time will appear.
Important to note that staff is able to complete the appointment only in the Mobile App.