Within the Statements module, users can view, download, and email statements as PDFs to their clients. These actions can be performed individually or in bulk.
Filtering Statements
Users can use the search and filter options to quickly locate the statements they want to view. In the example below, we are filtering for statements from November 2025:

Single view / email / download
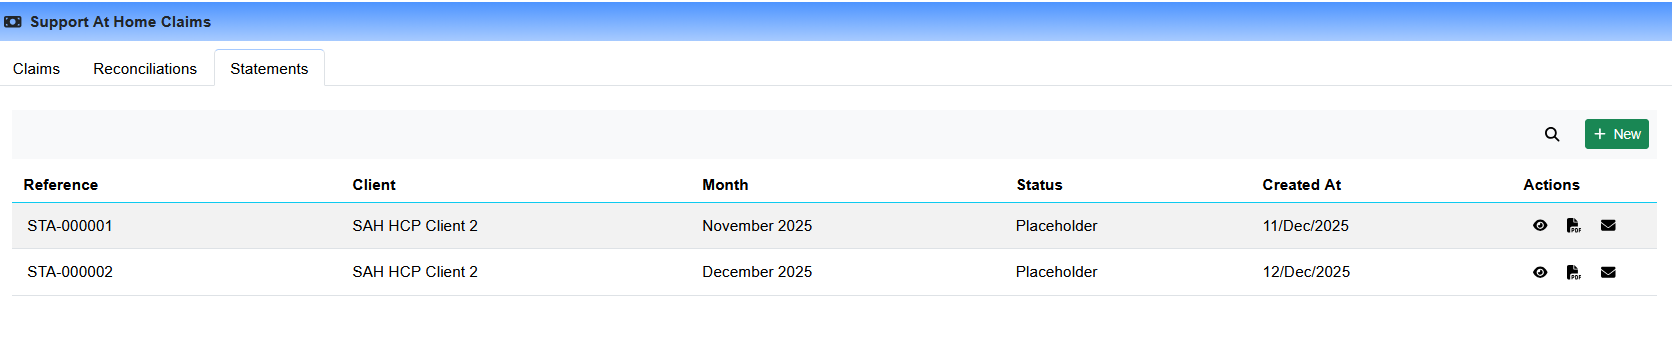
Within the Statements tab, users can view generated statements and use the action buttons on the right-hand side of the table to:
Download the statement as a PDF.
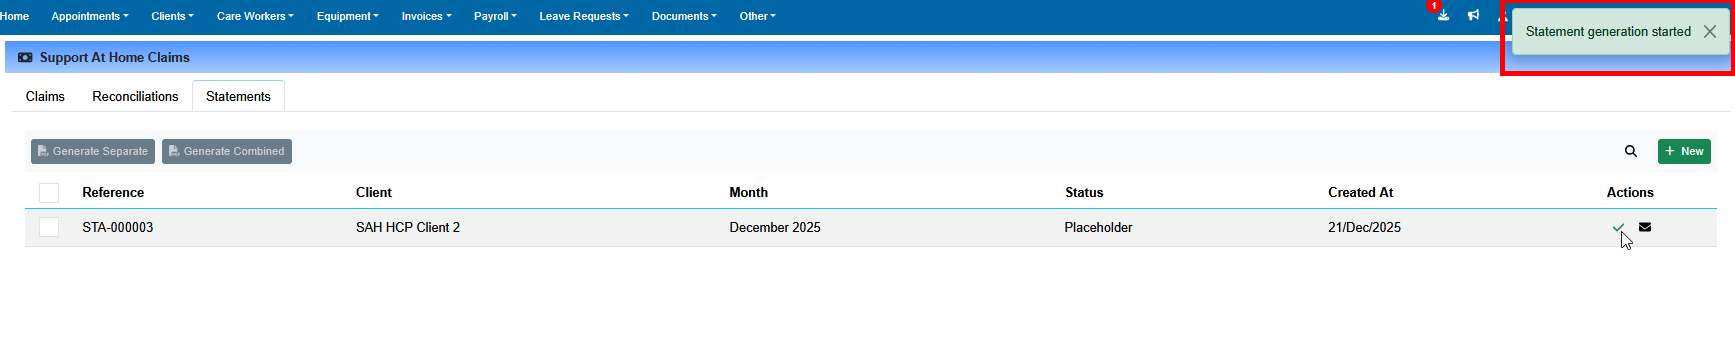
When the PDF button is clicked, the system creates a back-end task and notifies you once the job is complete.
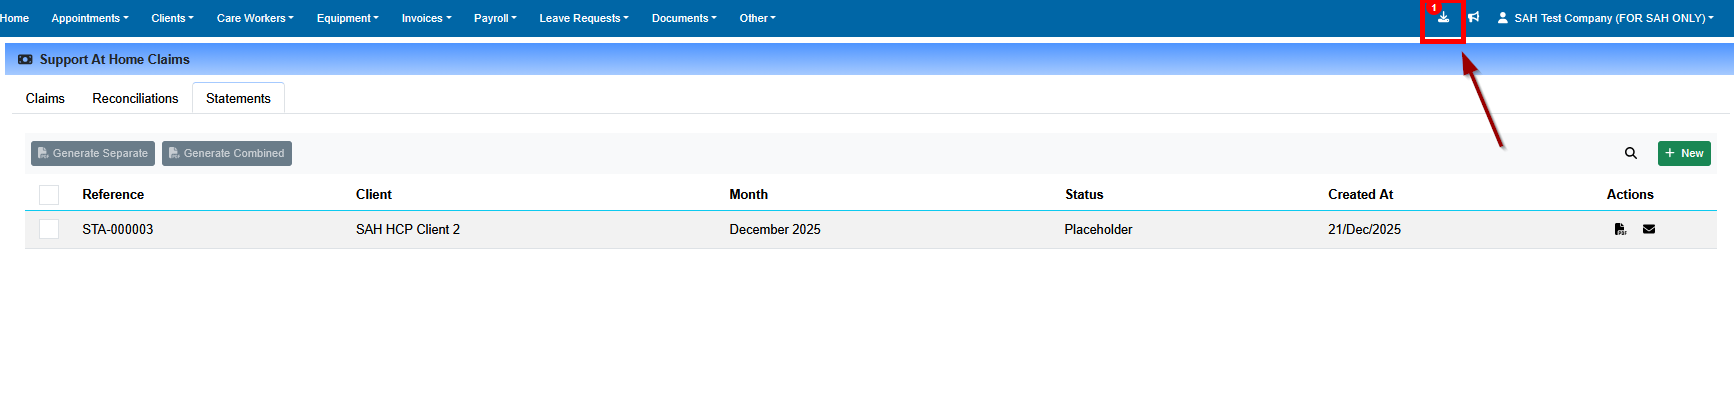
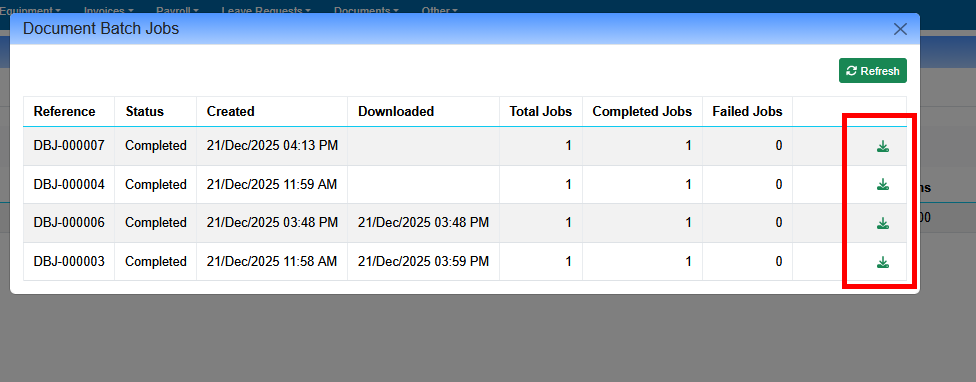
To access a completed job, open the Job Toolbar at the top of the screen and download your file.
Email the client a PDF copy of their statement.
Once sent, the system updates the statement status to reflect the email outcome. See Understanding Statement Email Statuses below for details on how delivery failures are now surfaced.
Understanding Statement Email Statuses
When you email a client statement, Eziplan tracks whether the email was successfully delivered and updates the statement status accordingly. The possible email-related statuses are:
Emailed – The statement was successfully sent to the client's email address.
Not Emailed – The email failed to send. This occurs when the client does not have an email address on file, or the email address is invalid.
If a statement shows a status of Not Emailed, hover over the status to see a tooltip explaining why the email failed. Common reasons include:
No email address recorded on the client profile
The email address on the client profile is invalid or incorrectly formatted
Resolving Email Failures
To resolve a "Not Emailed" status:
Navigate to the client's profile and update or add their email address.
Return to the Statements module and re-send the statement.
Previously, the system would show "Emailed" even when delivery failed — this has been corrected. If you have statements that were previously marked as "Emailed" but were never received by clients, check the client's email address and re-send.
Bulk Download PDF
Users can bulk download PDFs using either the single-select (2) or multi-select (1) options:
After selecting statements, choose one of two options for generating PDFs:
Generate Separate – Creates individual PDF files and combines them into a single ZIP file for download.
Generate Combined – Creates one single PDF containing all selected statements and packages it into a ZIP file for download.
Once the relevant option is selected, the system creates a back-end task and notifies you when processing is complete.
Completed jobs can be accessed via the Job Toolbar at the top of the screen, where the ZIP file can be downloaded.
Bulk Email Statements
Users can bulk email statements to clients using either the single-select (2) or multi-select (1) options:
Select to email statements using the bulk actions menu:
The system will track the emailed status and update each statement's status once completed. Any statements where delivery failed will show Not Emailed — hover over the status for the failure reason. You may need to refresh the screen to see updated results.
Statement Language Preference
Eziplan can now automatically generate SAH statements in a client's preferred language. When a client has a Language Preference recorded on their profile, their statement will be translated into that language before the PDF is produced — both for individual and bulk statement generation.
This feature is designed to support providers working with clients from culturally and linguistically diverse (CALD) backgrounds, removing the need for manual translation or separate communications.
Setting a Client's Language Preference
To enable translated statements for a client:
Navigate to the client's profile in Eziplan.
Locate the Language Preference field (found in the client profile details section).
Select the client's preferred language from the dropdown.
Save the profile.
From the next statement generation onwards, Eziplan will automatically translate the statement content for this client. No additional steps are required when generating statements — the language preference is applied automatically.
Note: If a client does not have a language preference set, their statement will be generated in English as usual.