Note: Group Appointment functionality needs to be configured by your Eziplan Support Team. If you'd like to take advantage of this feature, email support@eziplan.com.au and request for the feature to be enabled for your organisation and provide any specifics on the group naming, especially if you are going to have multiples e.g. gardening group, cooking class group. The support team will then set up your system in the back end to configure the profiles you will need to create your appointments.
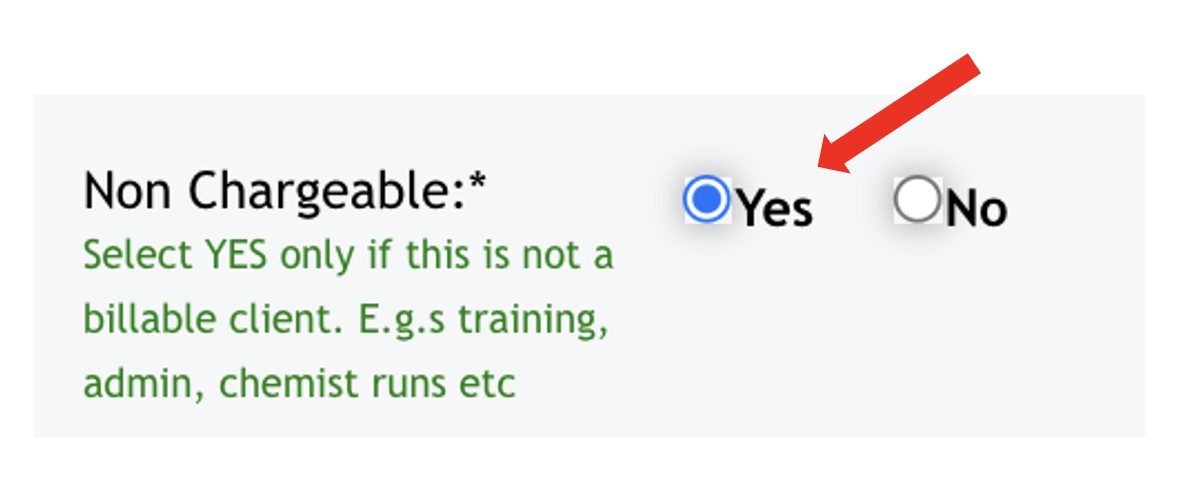
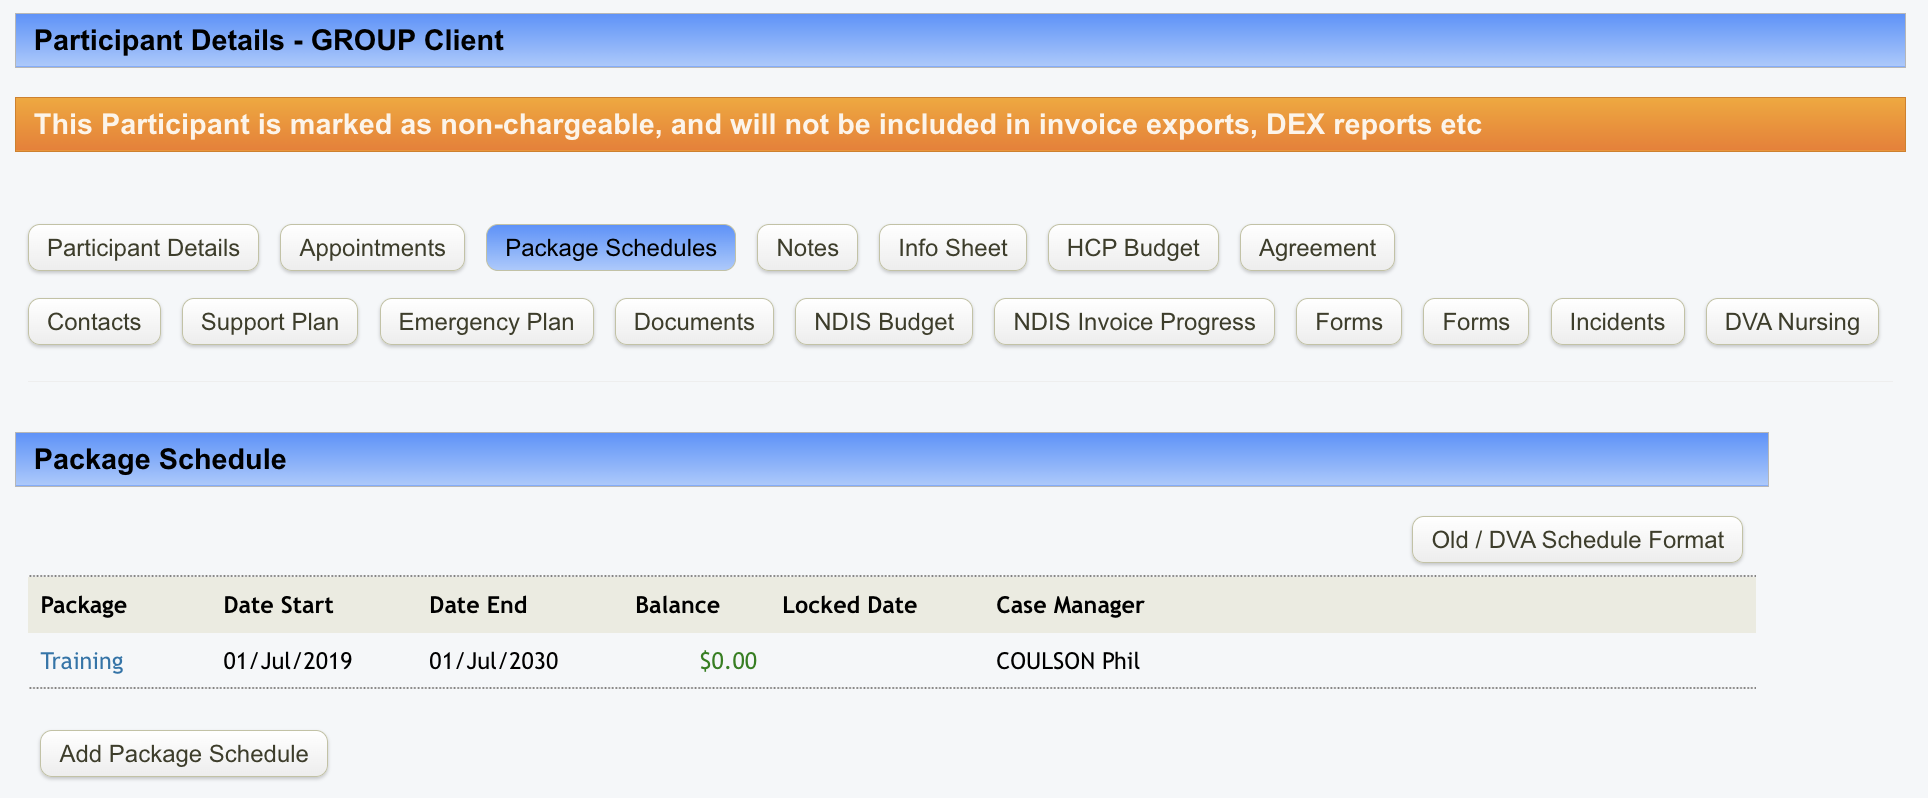
Provided that Group Appointment feature is now enabled for your business, log in to your Eziplan admin profile. From there, you can Add a new Client as you normally would however for Group Appointment user, name it Group Client (with Group as the last name and Client as the first name). Complete the required details as usual—for instance, use 1 Jan 1900 as the date of birth and the company’s address as the address. Ensure you select YES under Non-Chargeable, as this client is intended to serve solely as a placeholder for managing group appointments and is not an individual billable client. Finally, click Update to save your changes.
Like any other client, the Group Session Client requires a Package to be set up. You can name the package anything appropriate, such as Training, Administration, or any other suitable title that aligns with the purpose of the group sessions.
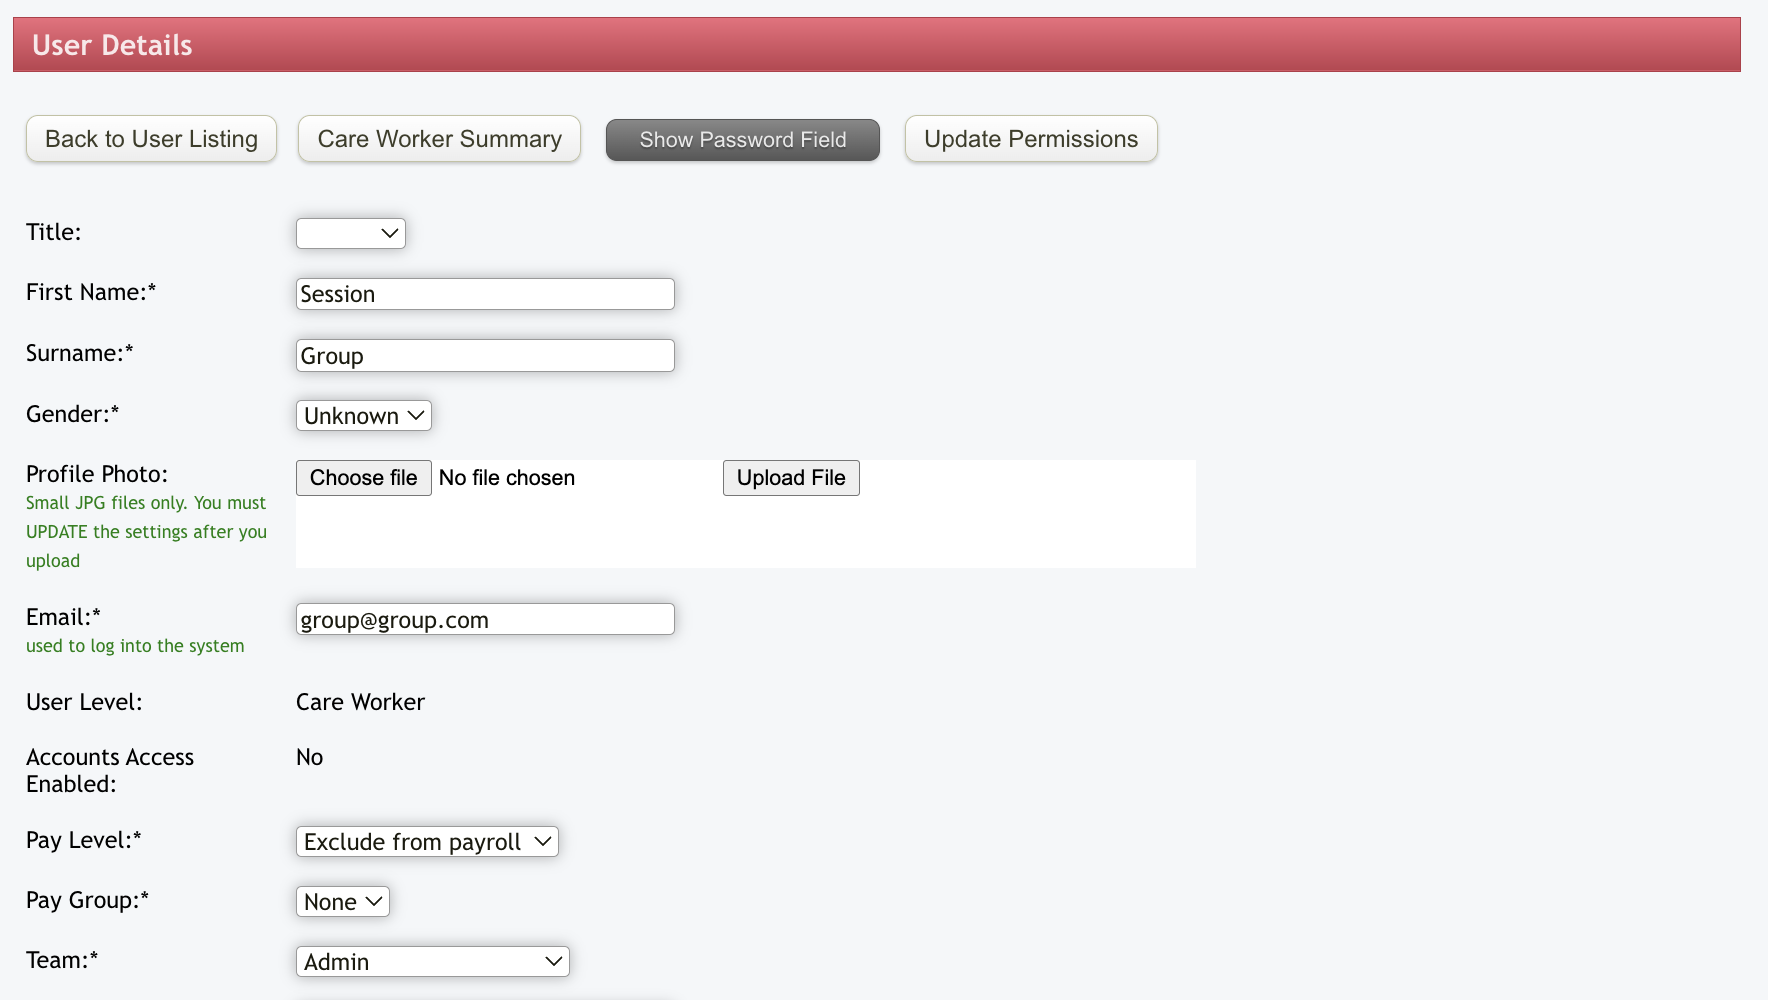
After completing that step, you need to set up a Group Staff (or Group Session, if preferred). Create a New User as usual, but assign Group as the first name and Staff as the last name. The email address is not relevant, so you can use a placeholder like email.com (or any other domain). Tag this user under the Admin Team and ensure they are marked as Exclude from Payroll.
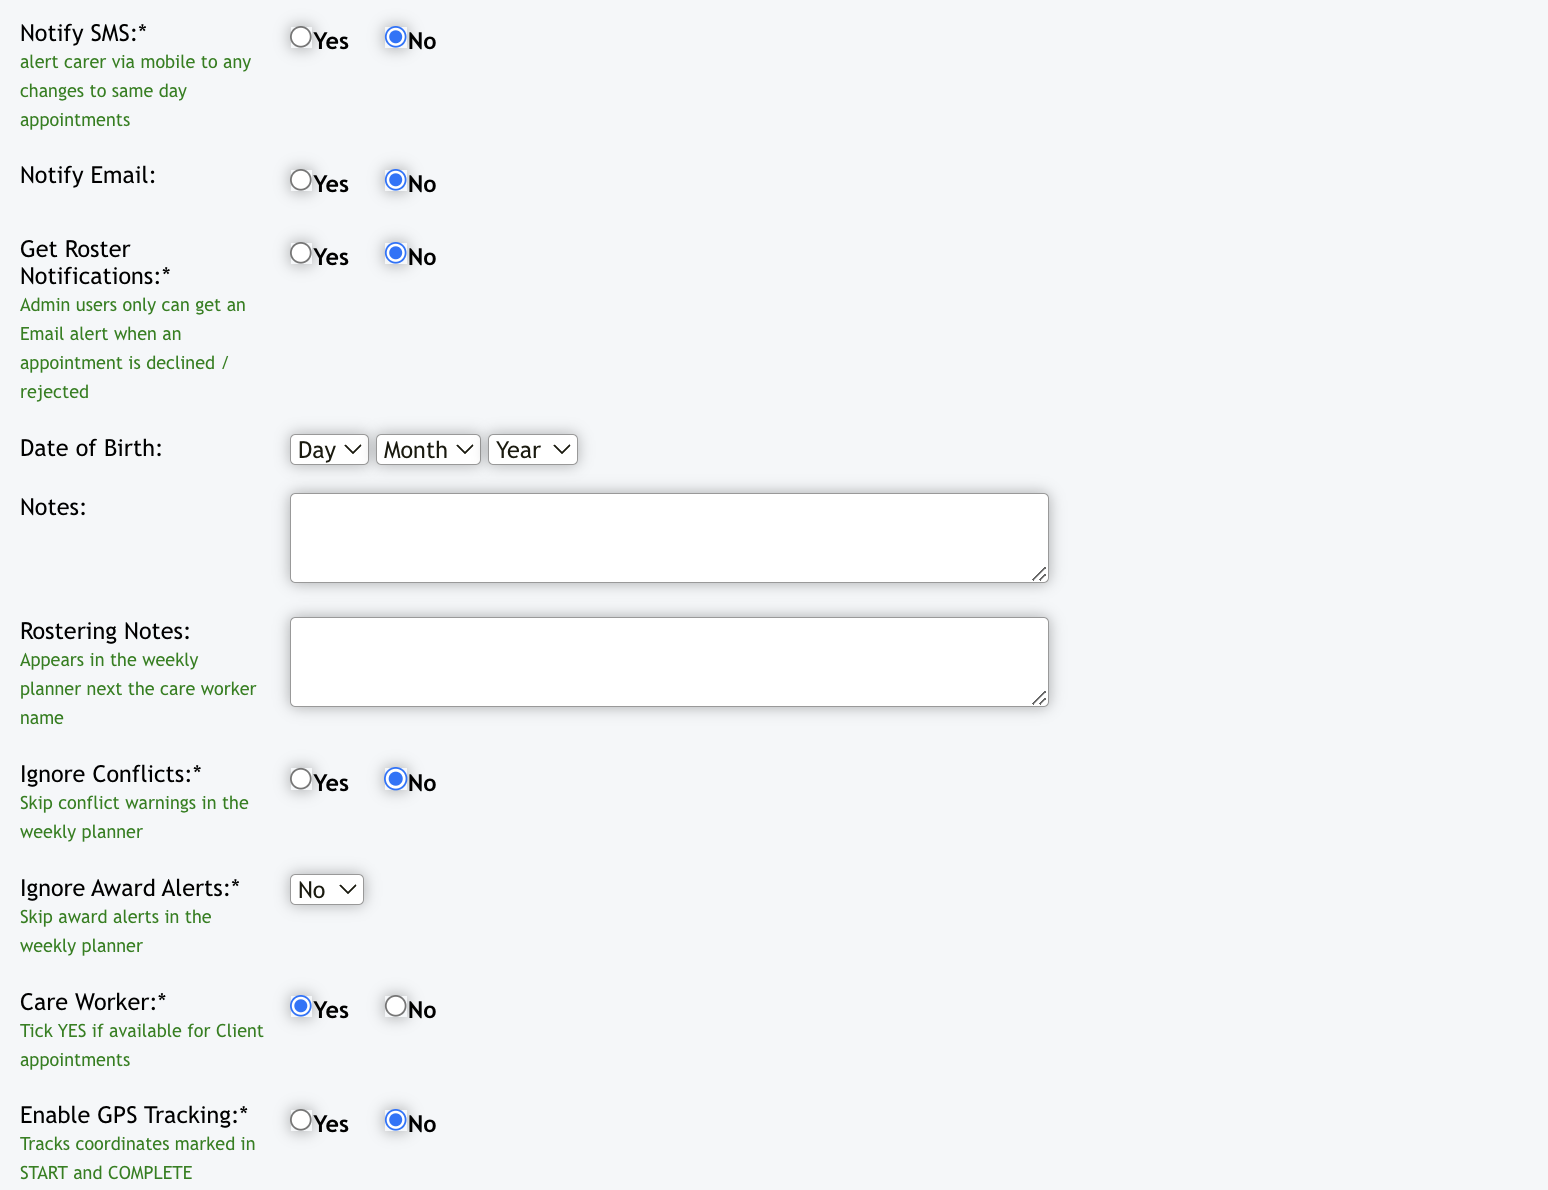
In the Qualifications section, tick Admin and then tick the following options as they don't apply to this particular staff. Hit Update User to save changes.
Once you have completed this step, please contact the Support Team at support@eziplan.com.au so we can set up the Group Session Client and User ID in the back end before you proceeding with any further actions. This is a crucial step to ensure the Group Session is properly linked and all associated data is accurately configured in the system.
Once this setup is complete, you can proceed to create a Once-off Group Appointments or recurring group appointment for detailed guide.